I had already used successfully the Up2Stream DAC as a bare PCB simply screwed to a small piece of MDF for a while. It sounds great so I decided that it was time to build a solid case and make it my product of choice. There were various reasons and my cats were part of that decision!
I contacted Joy at Arylic and asked for a dimensional drawing and she was very quick to supply one. This was a great help when marking out the rear panel. The dimensioning should be checked carefully as it is odd to size every part from the next and not from a board edge, for example. Easy to make cumulative errors when marking out if you do it that way.

There were a few other aspects that I wanted to deal with when making the case.
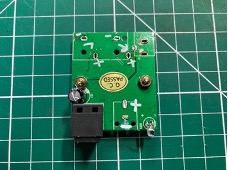
My TV has an optical output and I wanted to connect this directly without potentially introducing any noise issues so needed an Optical Input to the Up2Stream. Fortunately, the board has an analog input so I was able to incorporate a simple Optical-to-Analog conversion board inside the new case. This was simply an off the shelf unit from eBay with many of the unnecessary connectors removed to allow it to easily fit my new case. One other good point is that the board requires a 5V feed. More of this later. Here are original and de-populated pics.

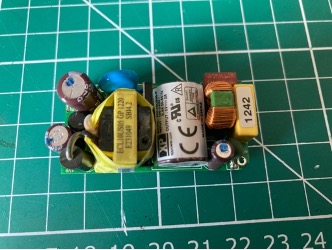
Power supply. I wanted to use an internal power supply as this is a key part of almost all good audio products. I had already compared a few plug-in phone type chargers and the audio performance results were quite variable. Given this variability I looked for and found a good XP 240V to 5V supply. I tried this with my original bare audio board and it was a large sonic improvement over the phone charger type devices, so this had to be included in the case. The part number is ECL10US05-P and costs around £26.00. There are many other types of supply but I have past experience with this one and can recommend it.
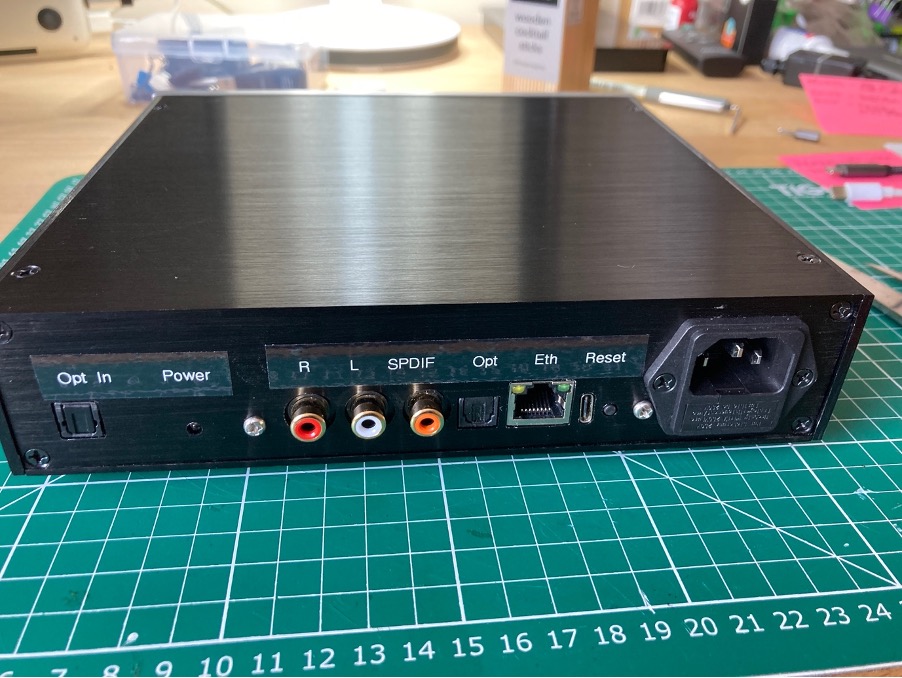
Case design. This was quite easy but cutting the rear panel to fit around the connectors was quite tricky. Many thanks here Barry! The rear panel was already anodised black so all the machined edges were simply filled in black with some Oil Paint Marker pen. Take care to carefully clean the machined parts before putting them anywhere near the PCBs. Metal shards could destroy the electronics when powered up!

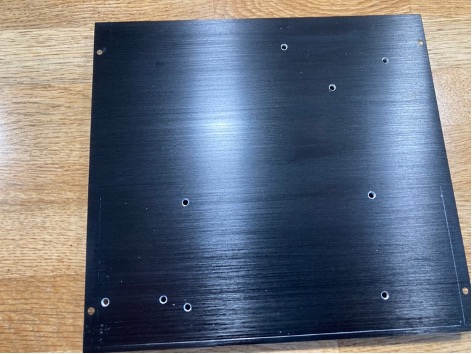
Case bottom panel. The base panel of the case was drilled to match all the PCB mounting holes. A good tip is to cover the precious anodised finish with sticky paper labels. They are then easy to mark for drilling and can then be peeled off revealing perfect metal underneath.
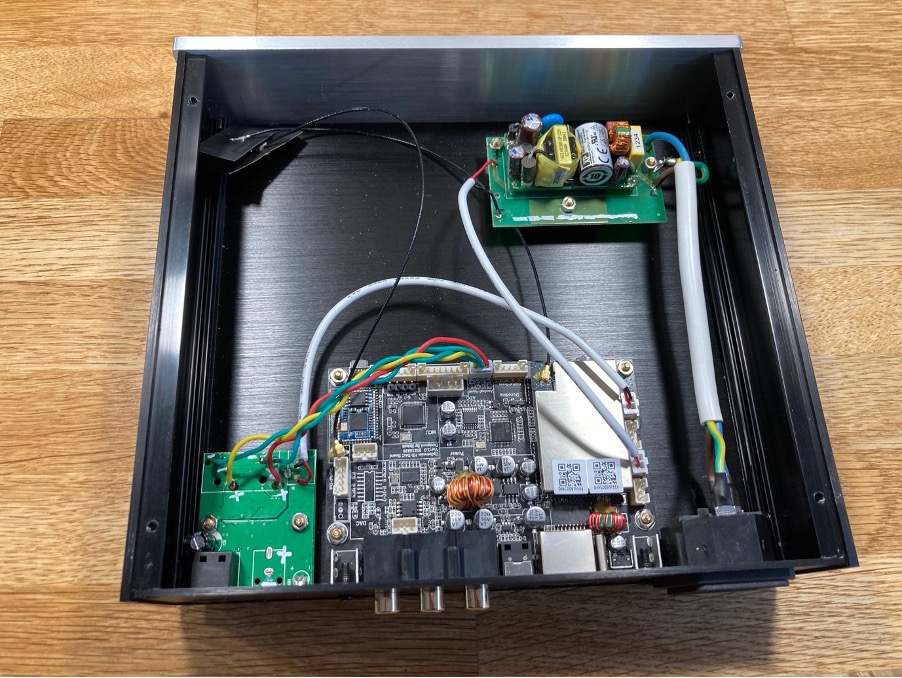
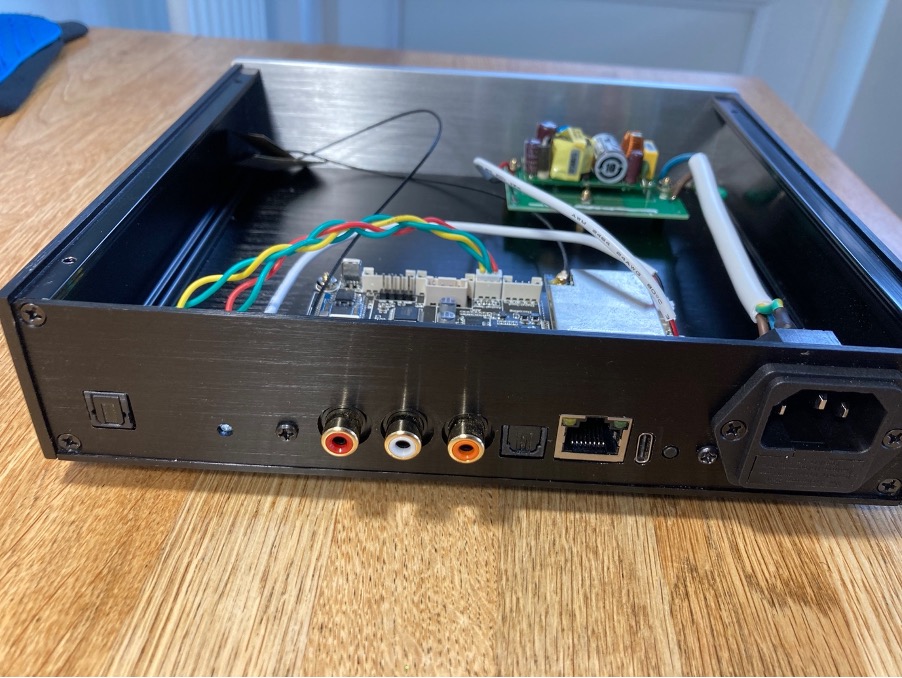
Final assembly. Brass mounting posts were used so that all the parts could be mounted at the correct height. It all went together as planned. Here are few pics showing the final build. Good old Dymo Tape was used to mark all the sockets. Remember, this is now a mains powered unit so it should be earthed and checked by a good engineer before use. I always wire my products by Ethernet so the tape type antenna are just wrapped up inside the case. The back panel could be drilled and rod type antenna used though if this is what you want. The antenna are glued to the PCB by Arylic….is it better or worse if removed when using a wired connection? Do the cause any interference? Many thanks in advance for any answers/comments here.
Result; it works, sounds great and my cats are safe and well!