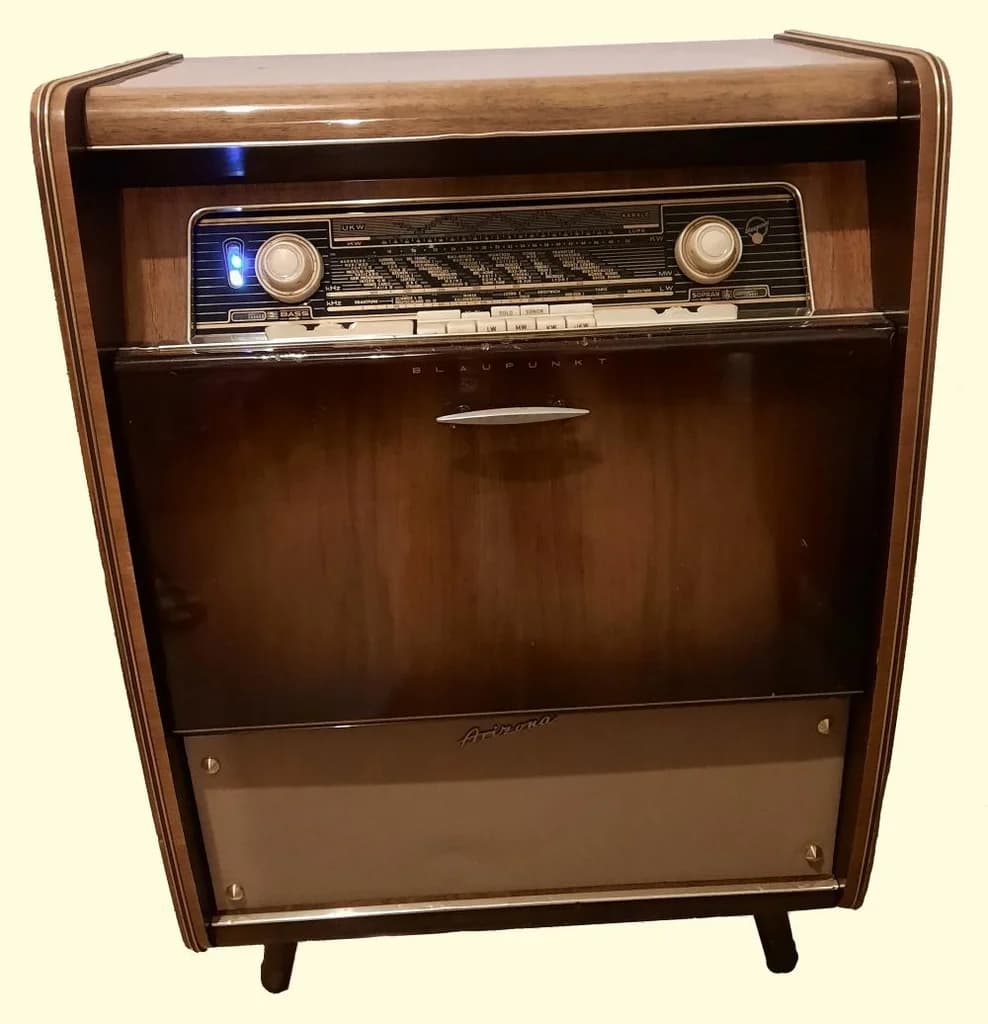
A friend of mine picked up an old blaupunkt radio that had broken down. I had the idea to transform it into a modern smart radio but keeping the vintage spirit. I had several options to do this :
- from the simplest one by hiding a connected speaker in the box,
- to the most complex one by building a custom speaker and adding an amplifier with wifi and Bluetooth.
out of curiosity and to learn, I chose the second one.
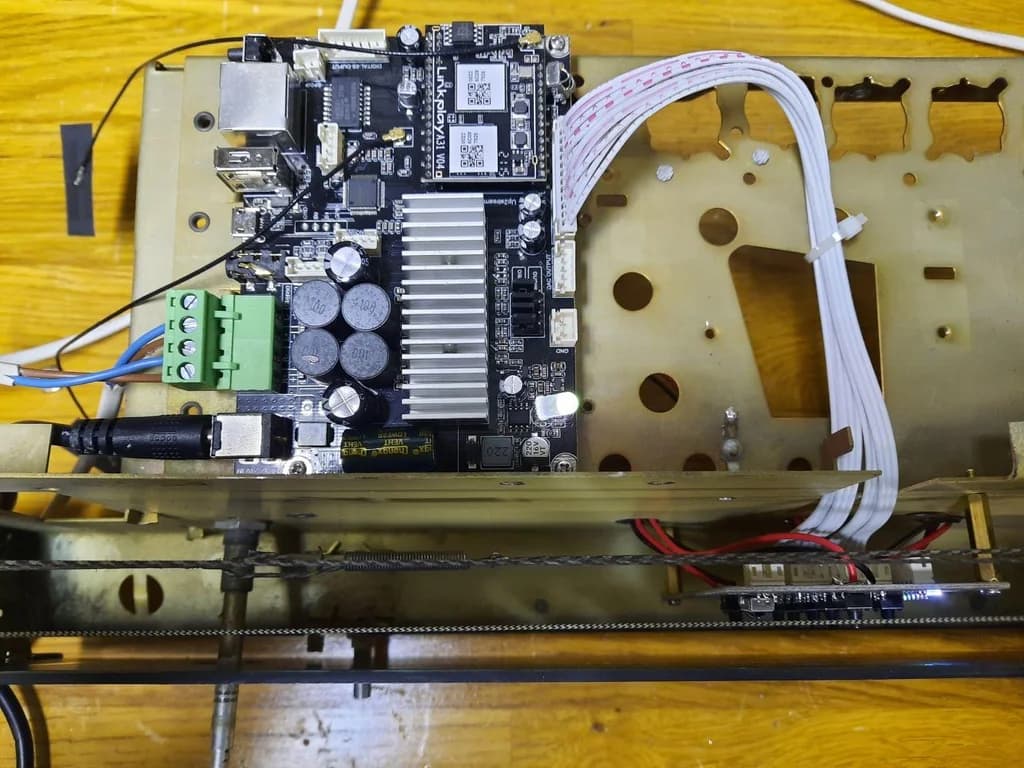
The choice of the amplifier led me to Arylic which offers DIY kits perfect for this type of project. Moreover, being a novice in audio, the exchanges with the support finished to convince me of their quality.
I selected the amp V4 which offers 2x50 W, Bluetooth, and all music services available.
Supplies
- Up2Stream Amp V4 - Multiroom Wireless Streaming Stereo Amplifier Board
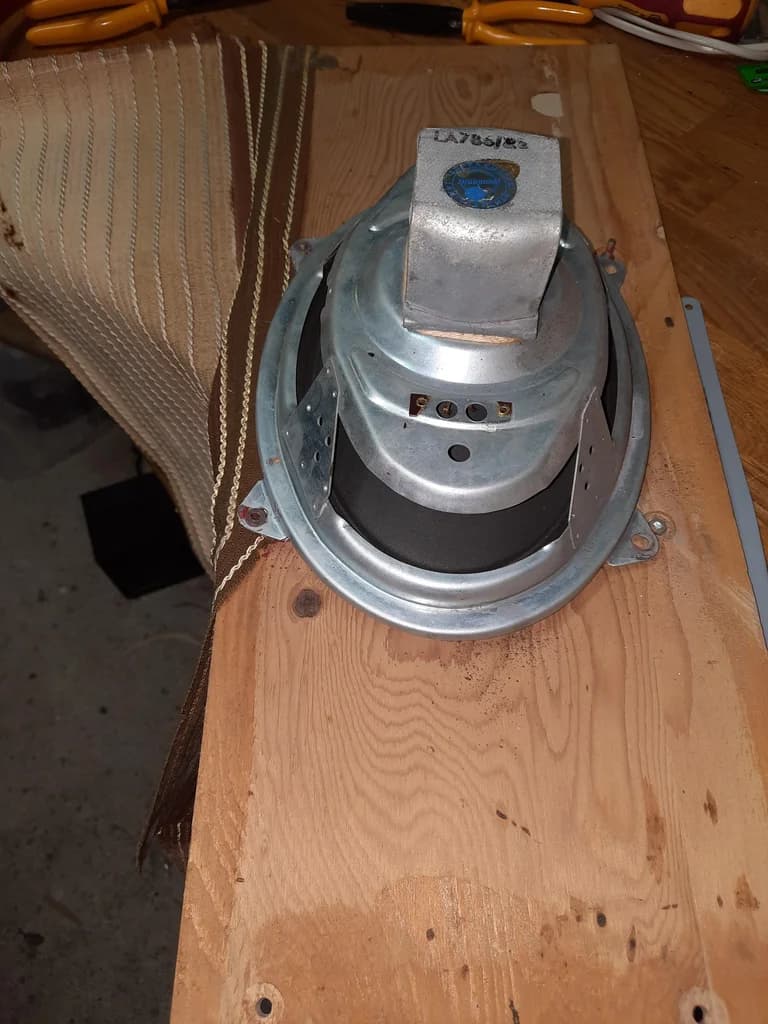
- 2x Dayton Audio RS100-4 4’’ Reference Full-Range Driver 4 Ohm
- MONACOR MDM-2 Speaker damping
- Pins SPST Momentary Mini Push Button Switch Normal Open
- plywood 5 mm
- MDF Valchromat 19mm
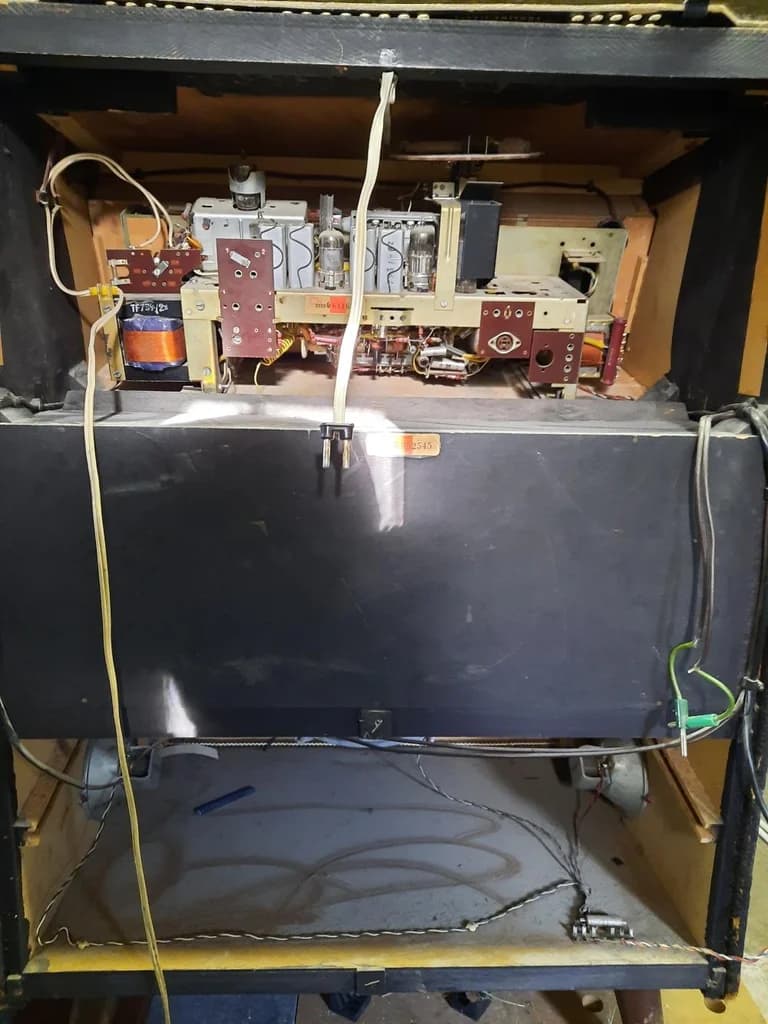
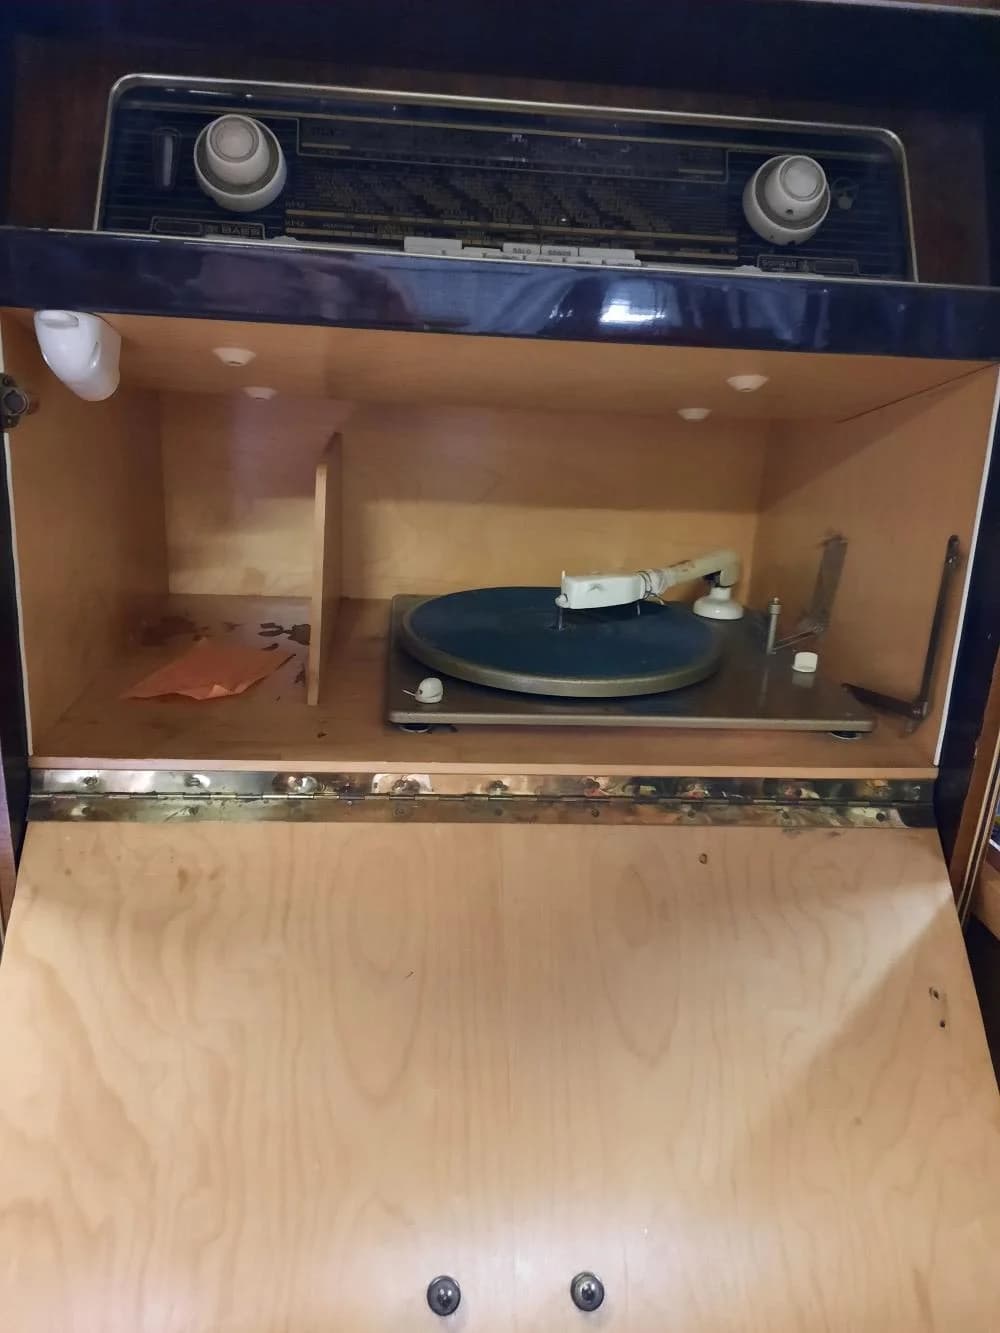
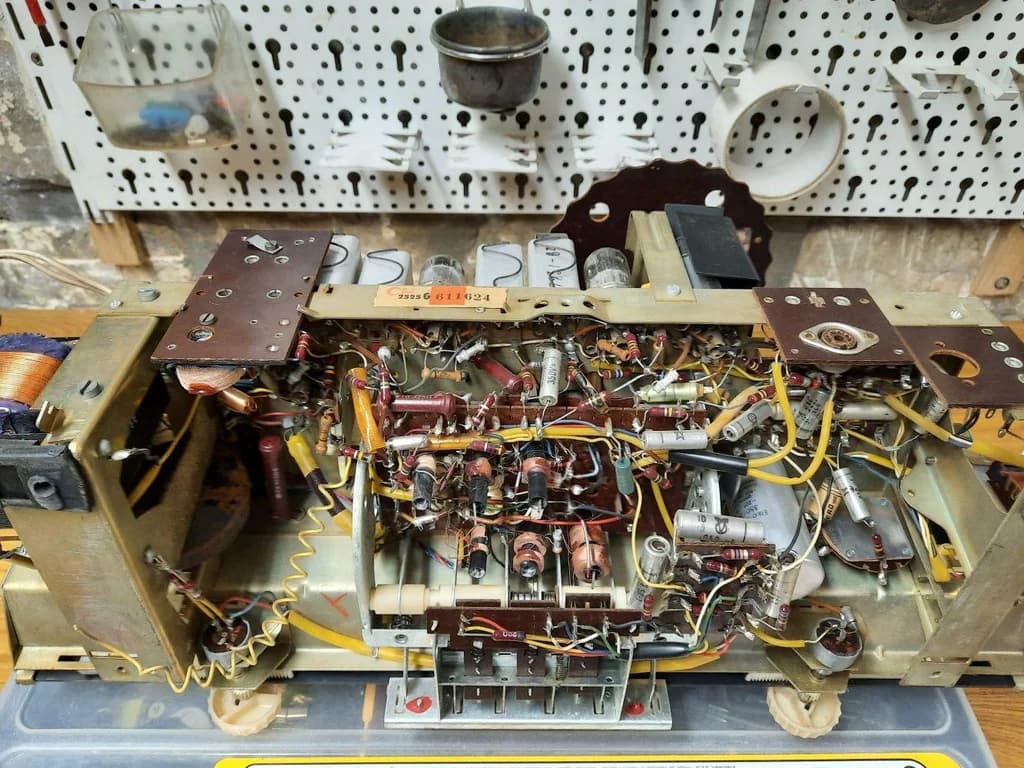
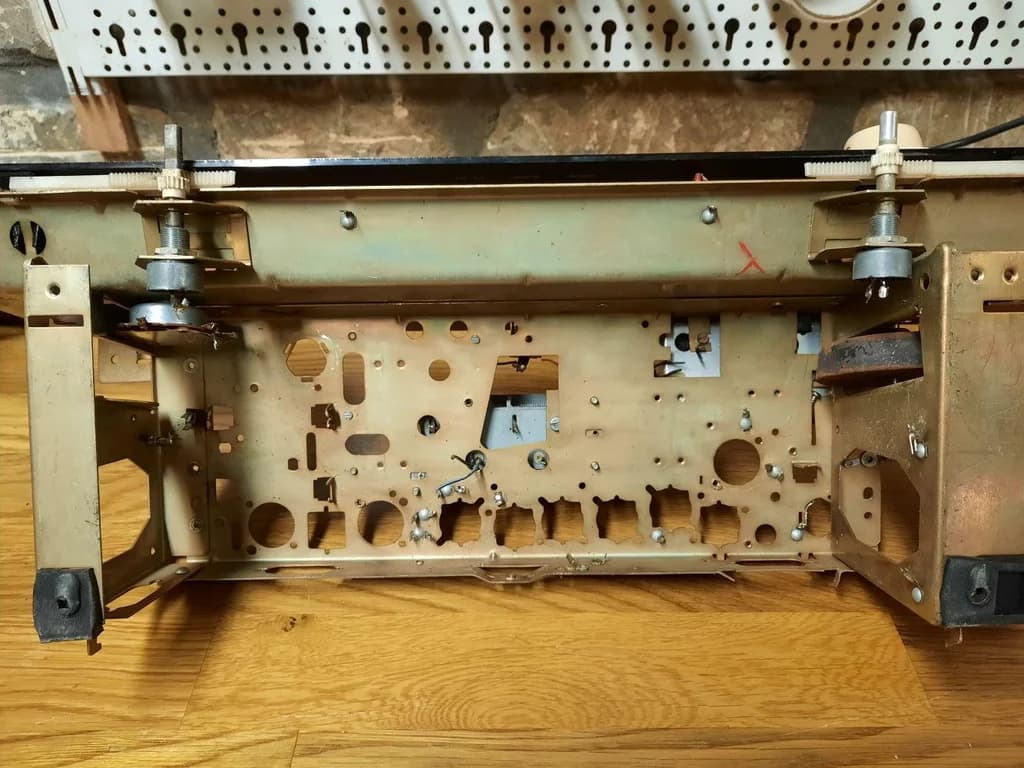
Cleaning
The first step was to clean up and make room for the new parts.
I must admit that I felt a twinge of sadness at having to cut out all these components.
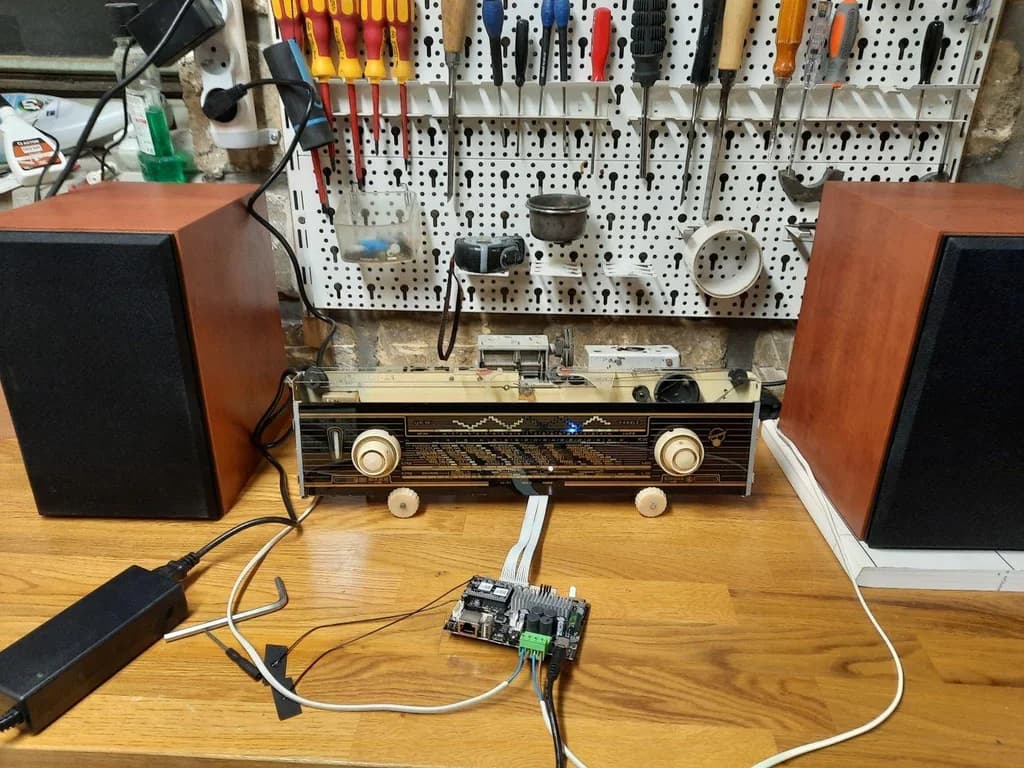
Installing Amp
This was the easiest and fastest part of the project and the one that added the most value.
I first tested with a pair of speakers and a few screws were enough to fix the board on the old chassis.
Buttons
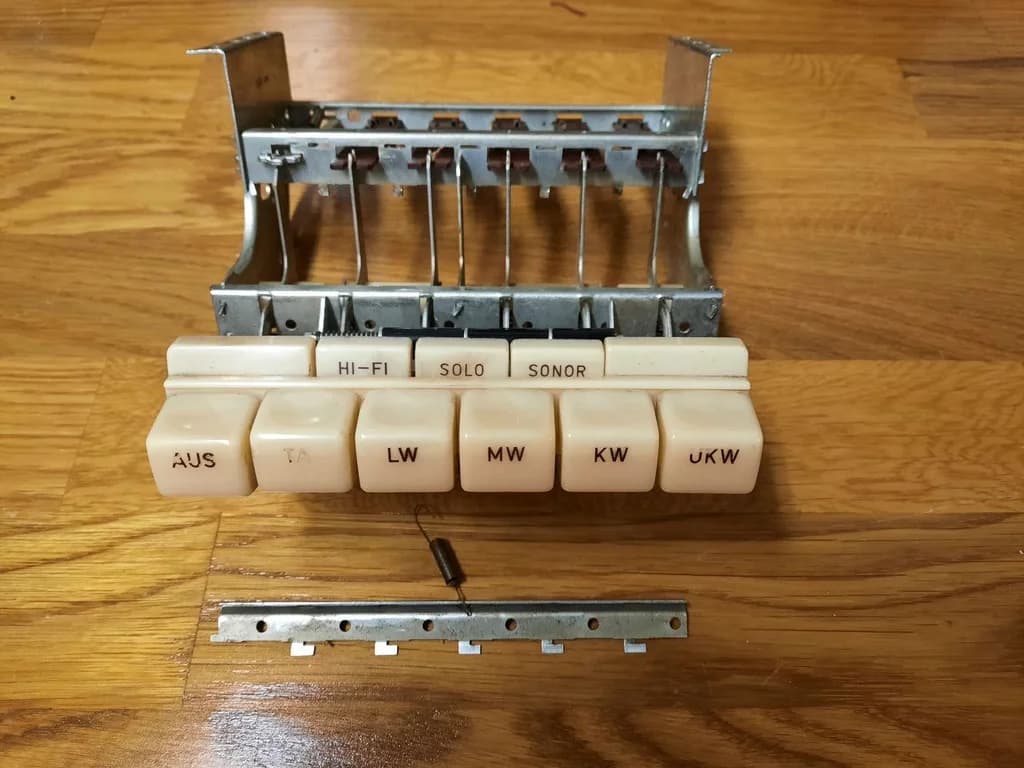
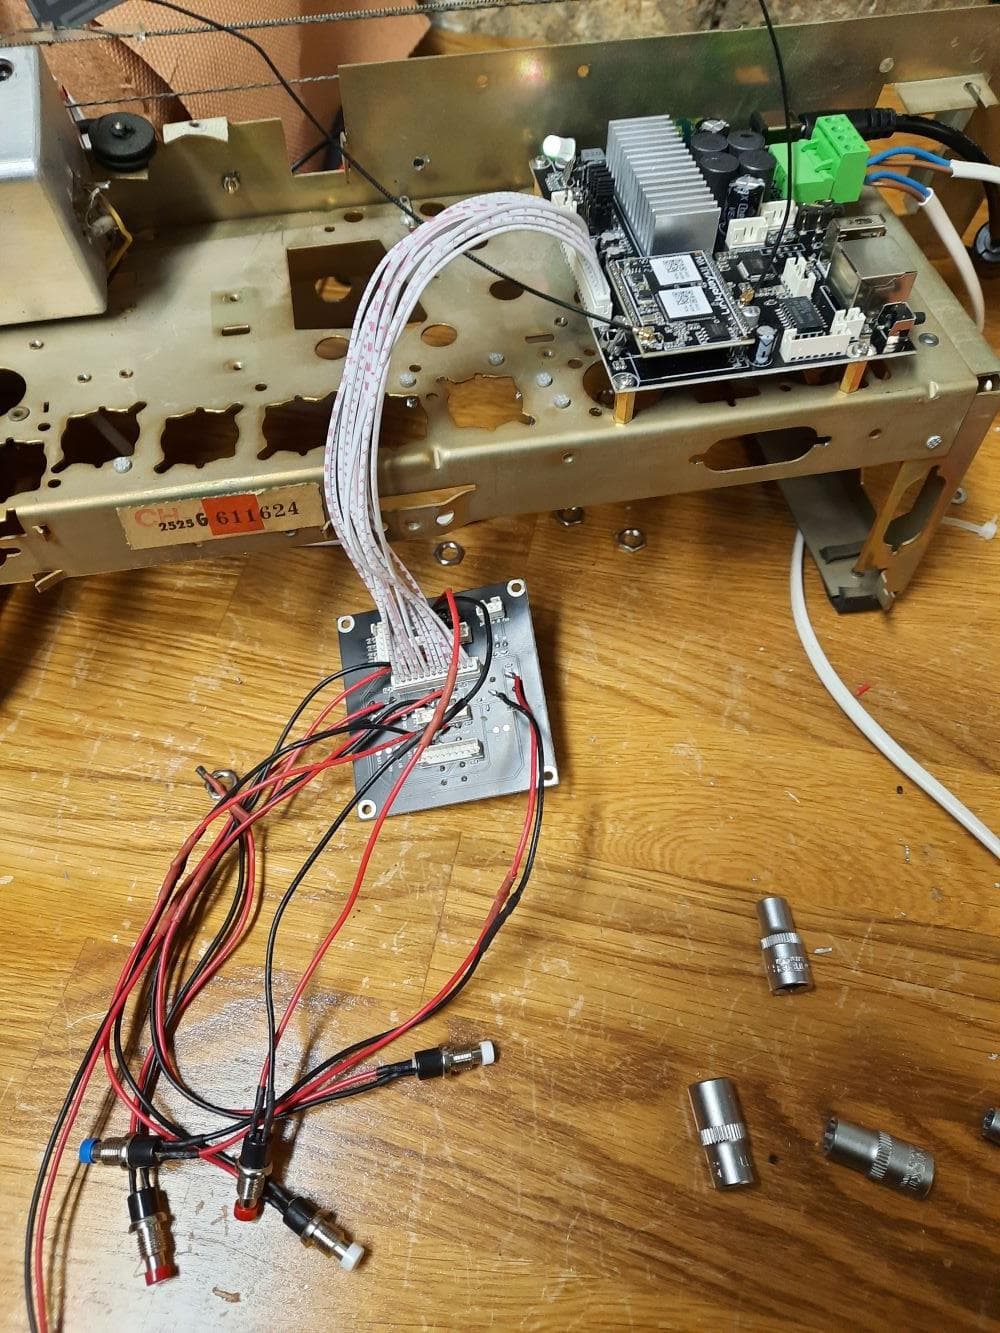
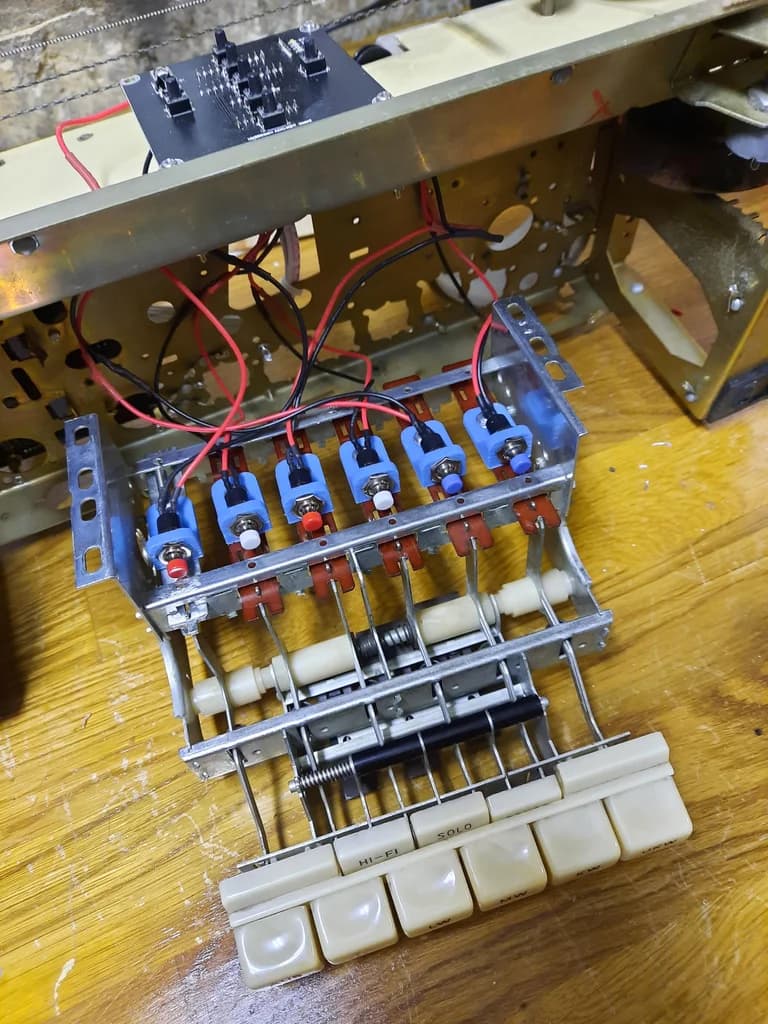
And then a crazy idea came to me. Could I reuse the old radio keyboard to drive the card.
I remembered having seen on the arylic website the “button board” :
“This Button board is an external board that contains multiple control buttons including play/pause, volume up, volume down, previous song, next song, standby and switch mode, plus an on board IR receiver, connector for IR Extension Board and 4 mode indicator LED including WiFi, BT, AUX and USB. It is perfect to use as the control panel for your DIY device.”
and there, you can tell me "what interest since the amp card can be controlled by an android or ios application: None except the beauty of the gesture
How to connect the old and the new world:
While observing the keyboard, I had the idea to fix push buttons, soldered to the button board on the back of the micro switches.
To fix the new push buttons, I designed 3D parts with Fusion 360. It’s a very simple piece with a vertical hole for the button and a horizontal hole to fix on the bakelite lamella.
By pressing a key on the old keyboard, the lamella is moving forward, pressing the button.
Thus, I use keyboard to “stand by”, “play/pause”, “reverse”, “forward”, “volume +”, “volume -”.

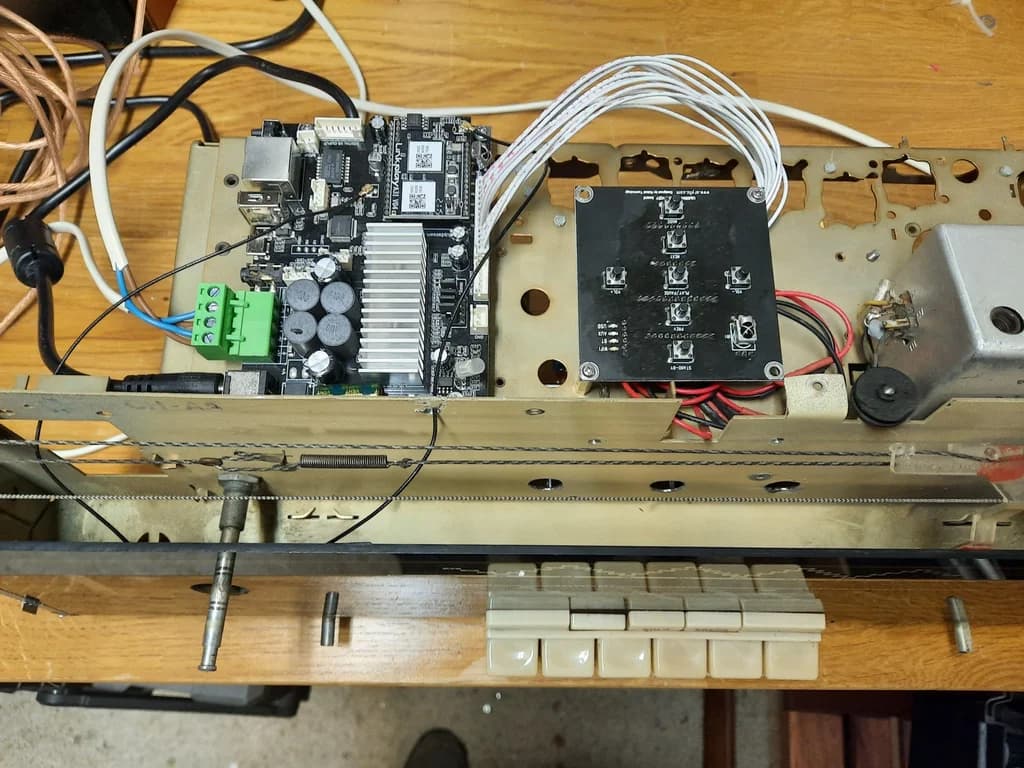
Leds
Then, I realized that I never knew if the radio was on or off.The button board contains four leds. I just had to connect on corresponding pin on the cable between the amp and button board.
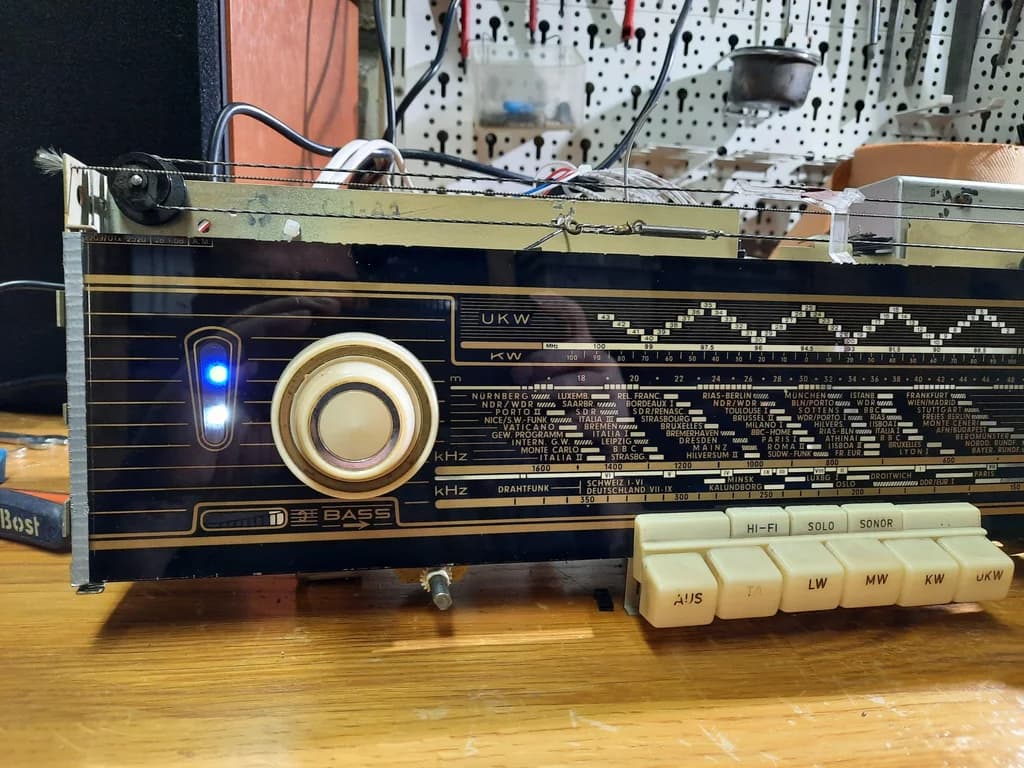
I designed another 3D part to put leds behind the little window of the front panel.

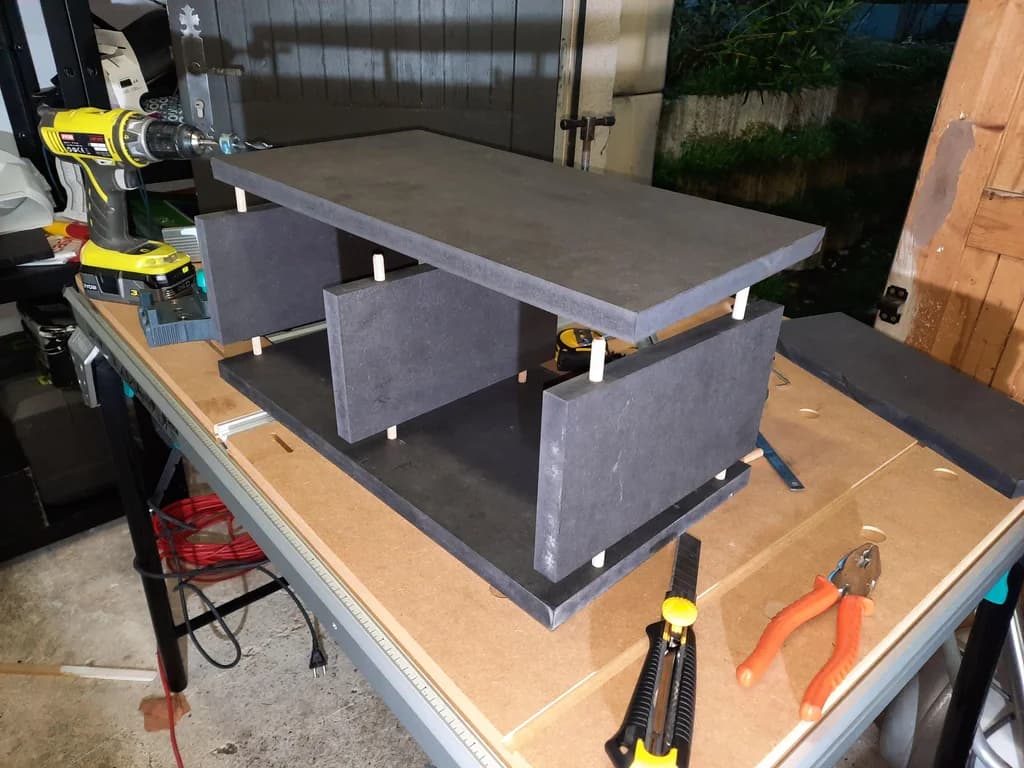
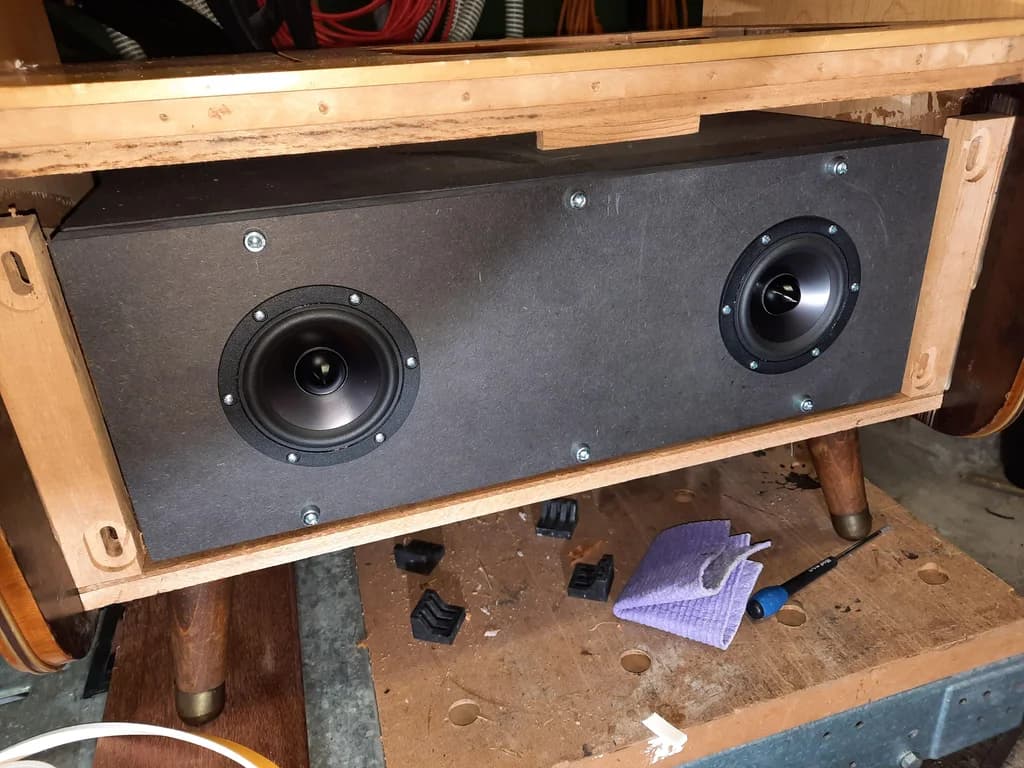
Speaker
This was the most complicated part of the project and I discovered that acoustics is a very complicated science.For the simplicity of construction and calculation, I decided to build a closed speaker with two full-range loudspeaker from Dayton Audio.
I knew I would miss a bit of bass but the unit would have to be installed in an apartment and wouldn’t need much power.
for the volume of the speaker, I made calculations with several formulas and finally decided to adapt the volume of the speaker to the volume available in the cabinet.
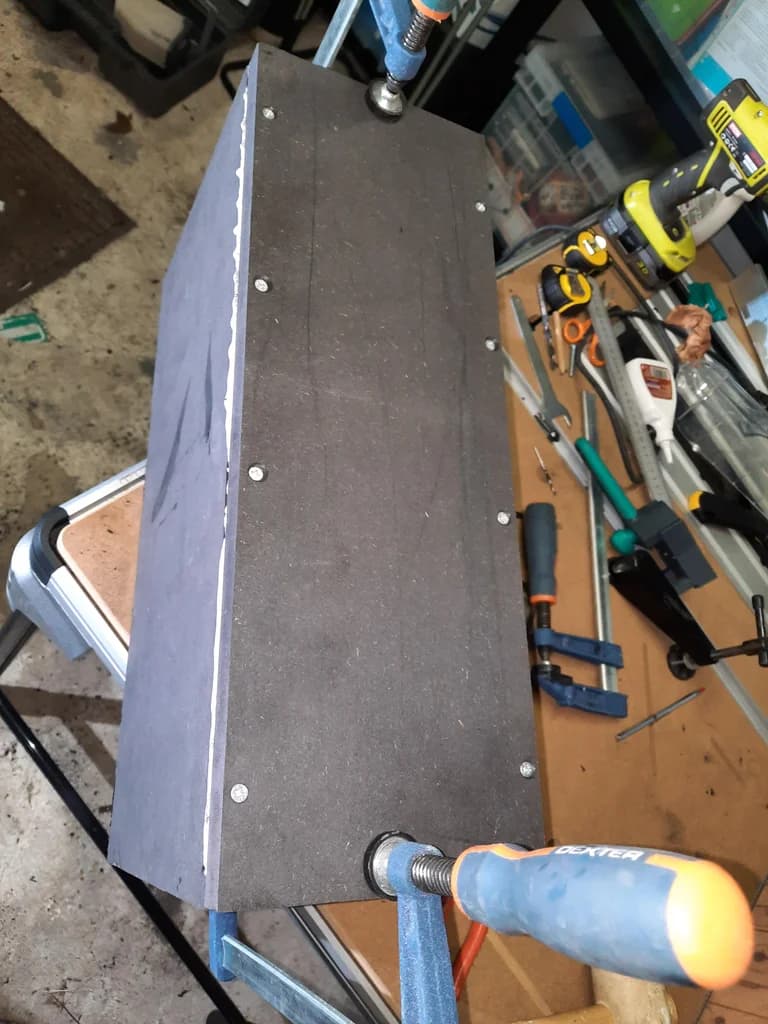
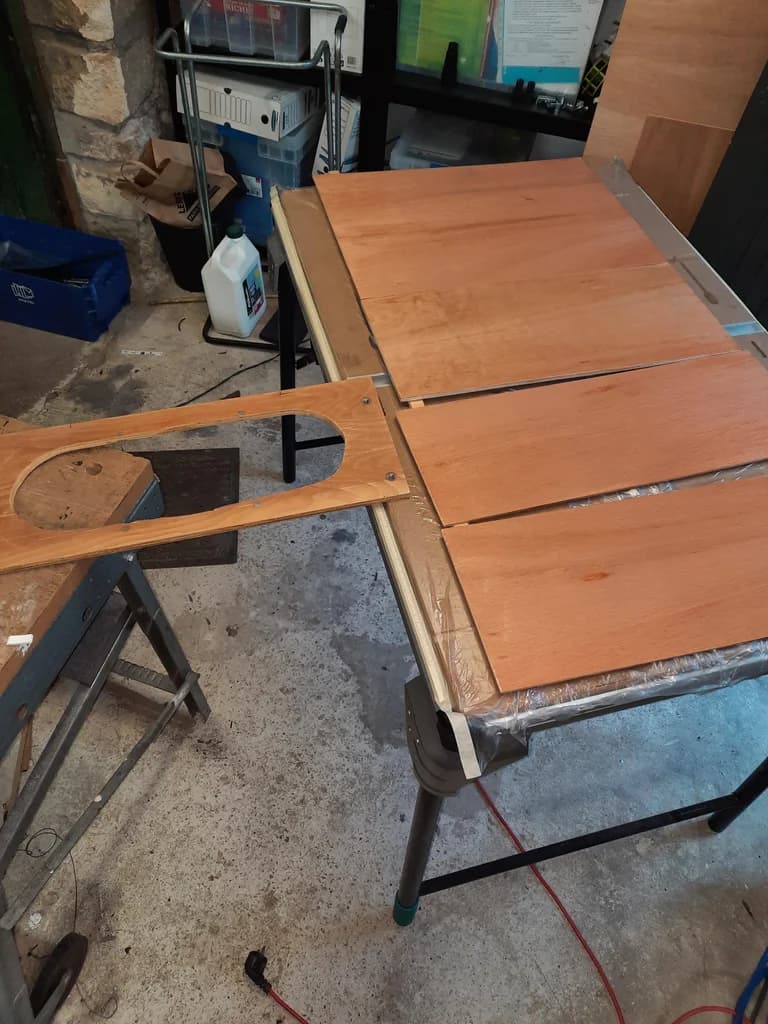
I used Board MDF Valchromat 19mm thick, assembled by wooden dowel.
The front panel was formed with router.


Finishing
I recovered the old support of the speaker to cover it with acoustic cloth and fixed it with four vintage style screws.
I added an power cable chassis-mount connector and closed the cabinet.
I had planned to use the acpworkbench software provided by arylic to correct the acoustics but this was not necessary and the sound was perfectly adapted to the room.
My friends can now listen to their music and web radios with the 4Stream application.


Thanks to Arylic for the support.