I had used my old-world system for many years and it was time for a change.
I say old world but it did feature a Sonos streaming front end but the rest of the electronics came from another era.
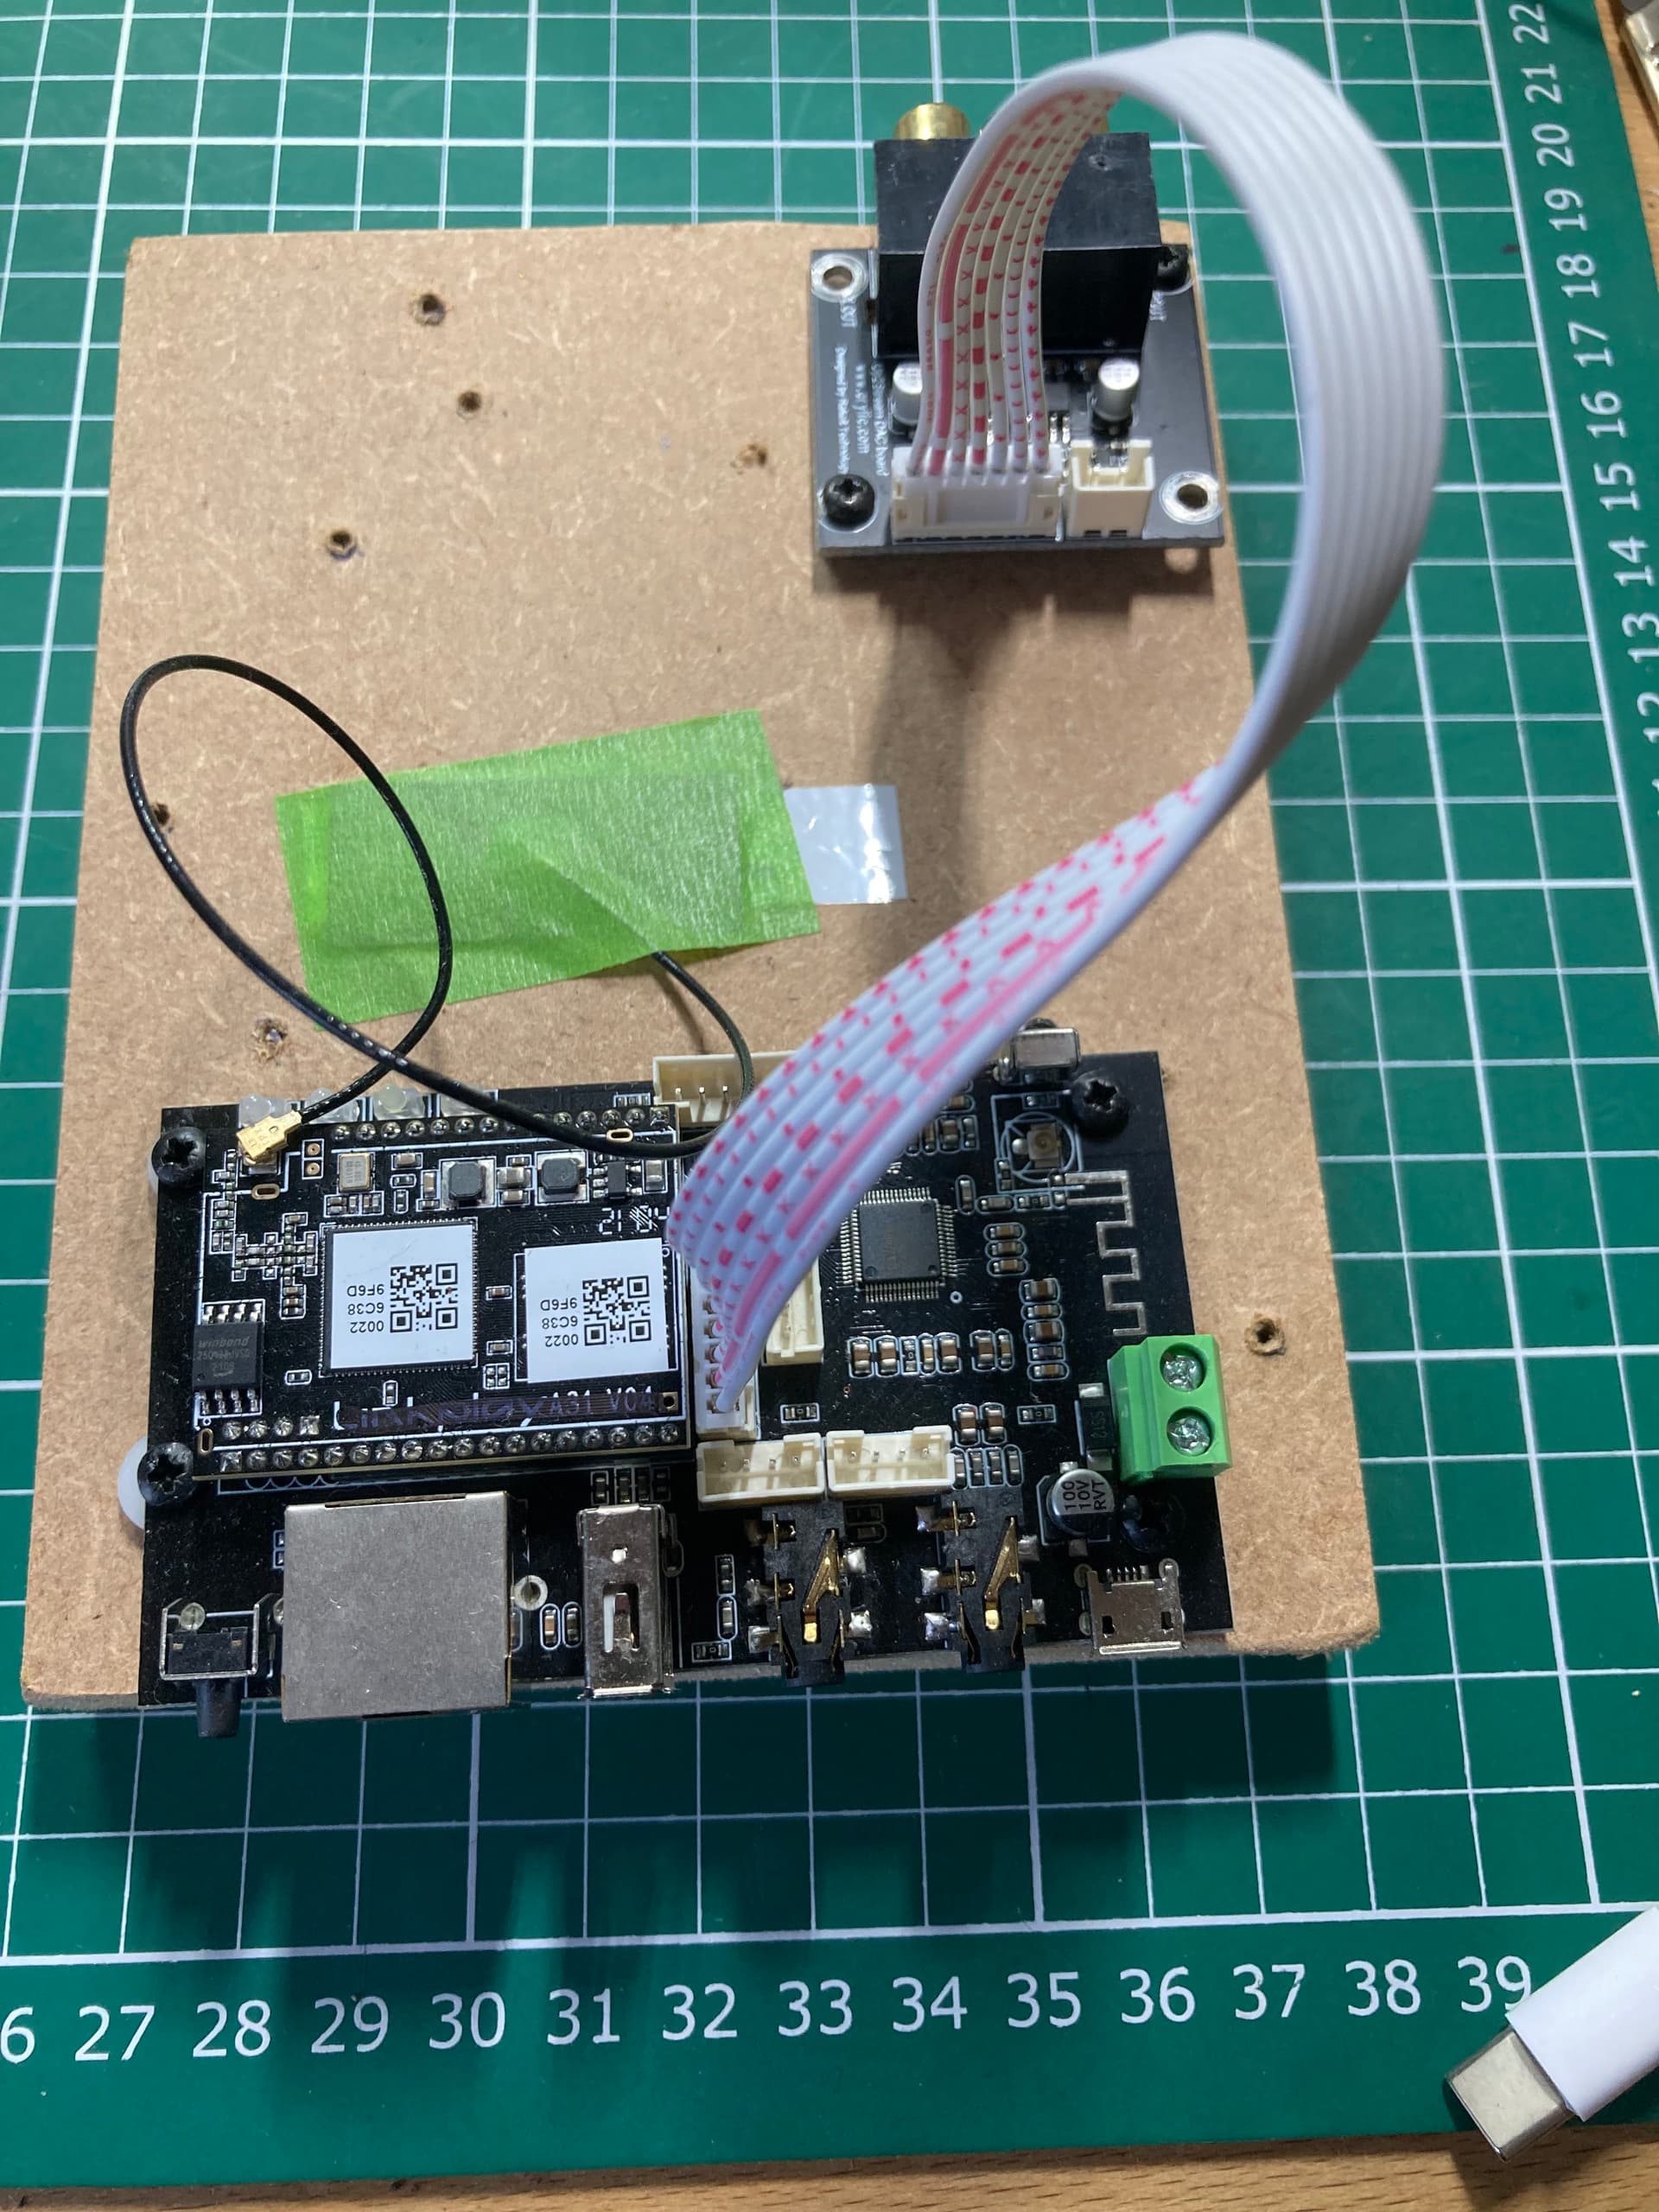
It needed an upgrade. The first step I took was to change the front end to an Arylic streamer. I selected the Wifi Stereo Receiver For DIY Speaker | Multi zone Control-Arylic.com as it seemed to meet with my requirements. I wanted to replace my aging Sonos system with something a bit more up to date and capable of playing HD audio. For now, I powered it with an iPhone charger but will change that later. In general, the better the supply, the lower the noise floor.
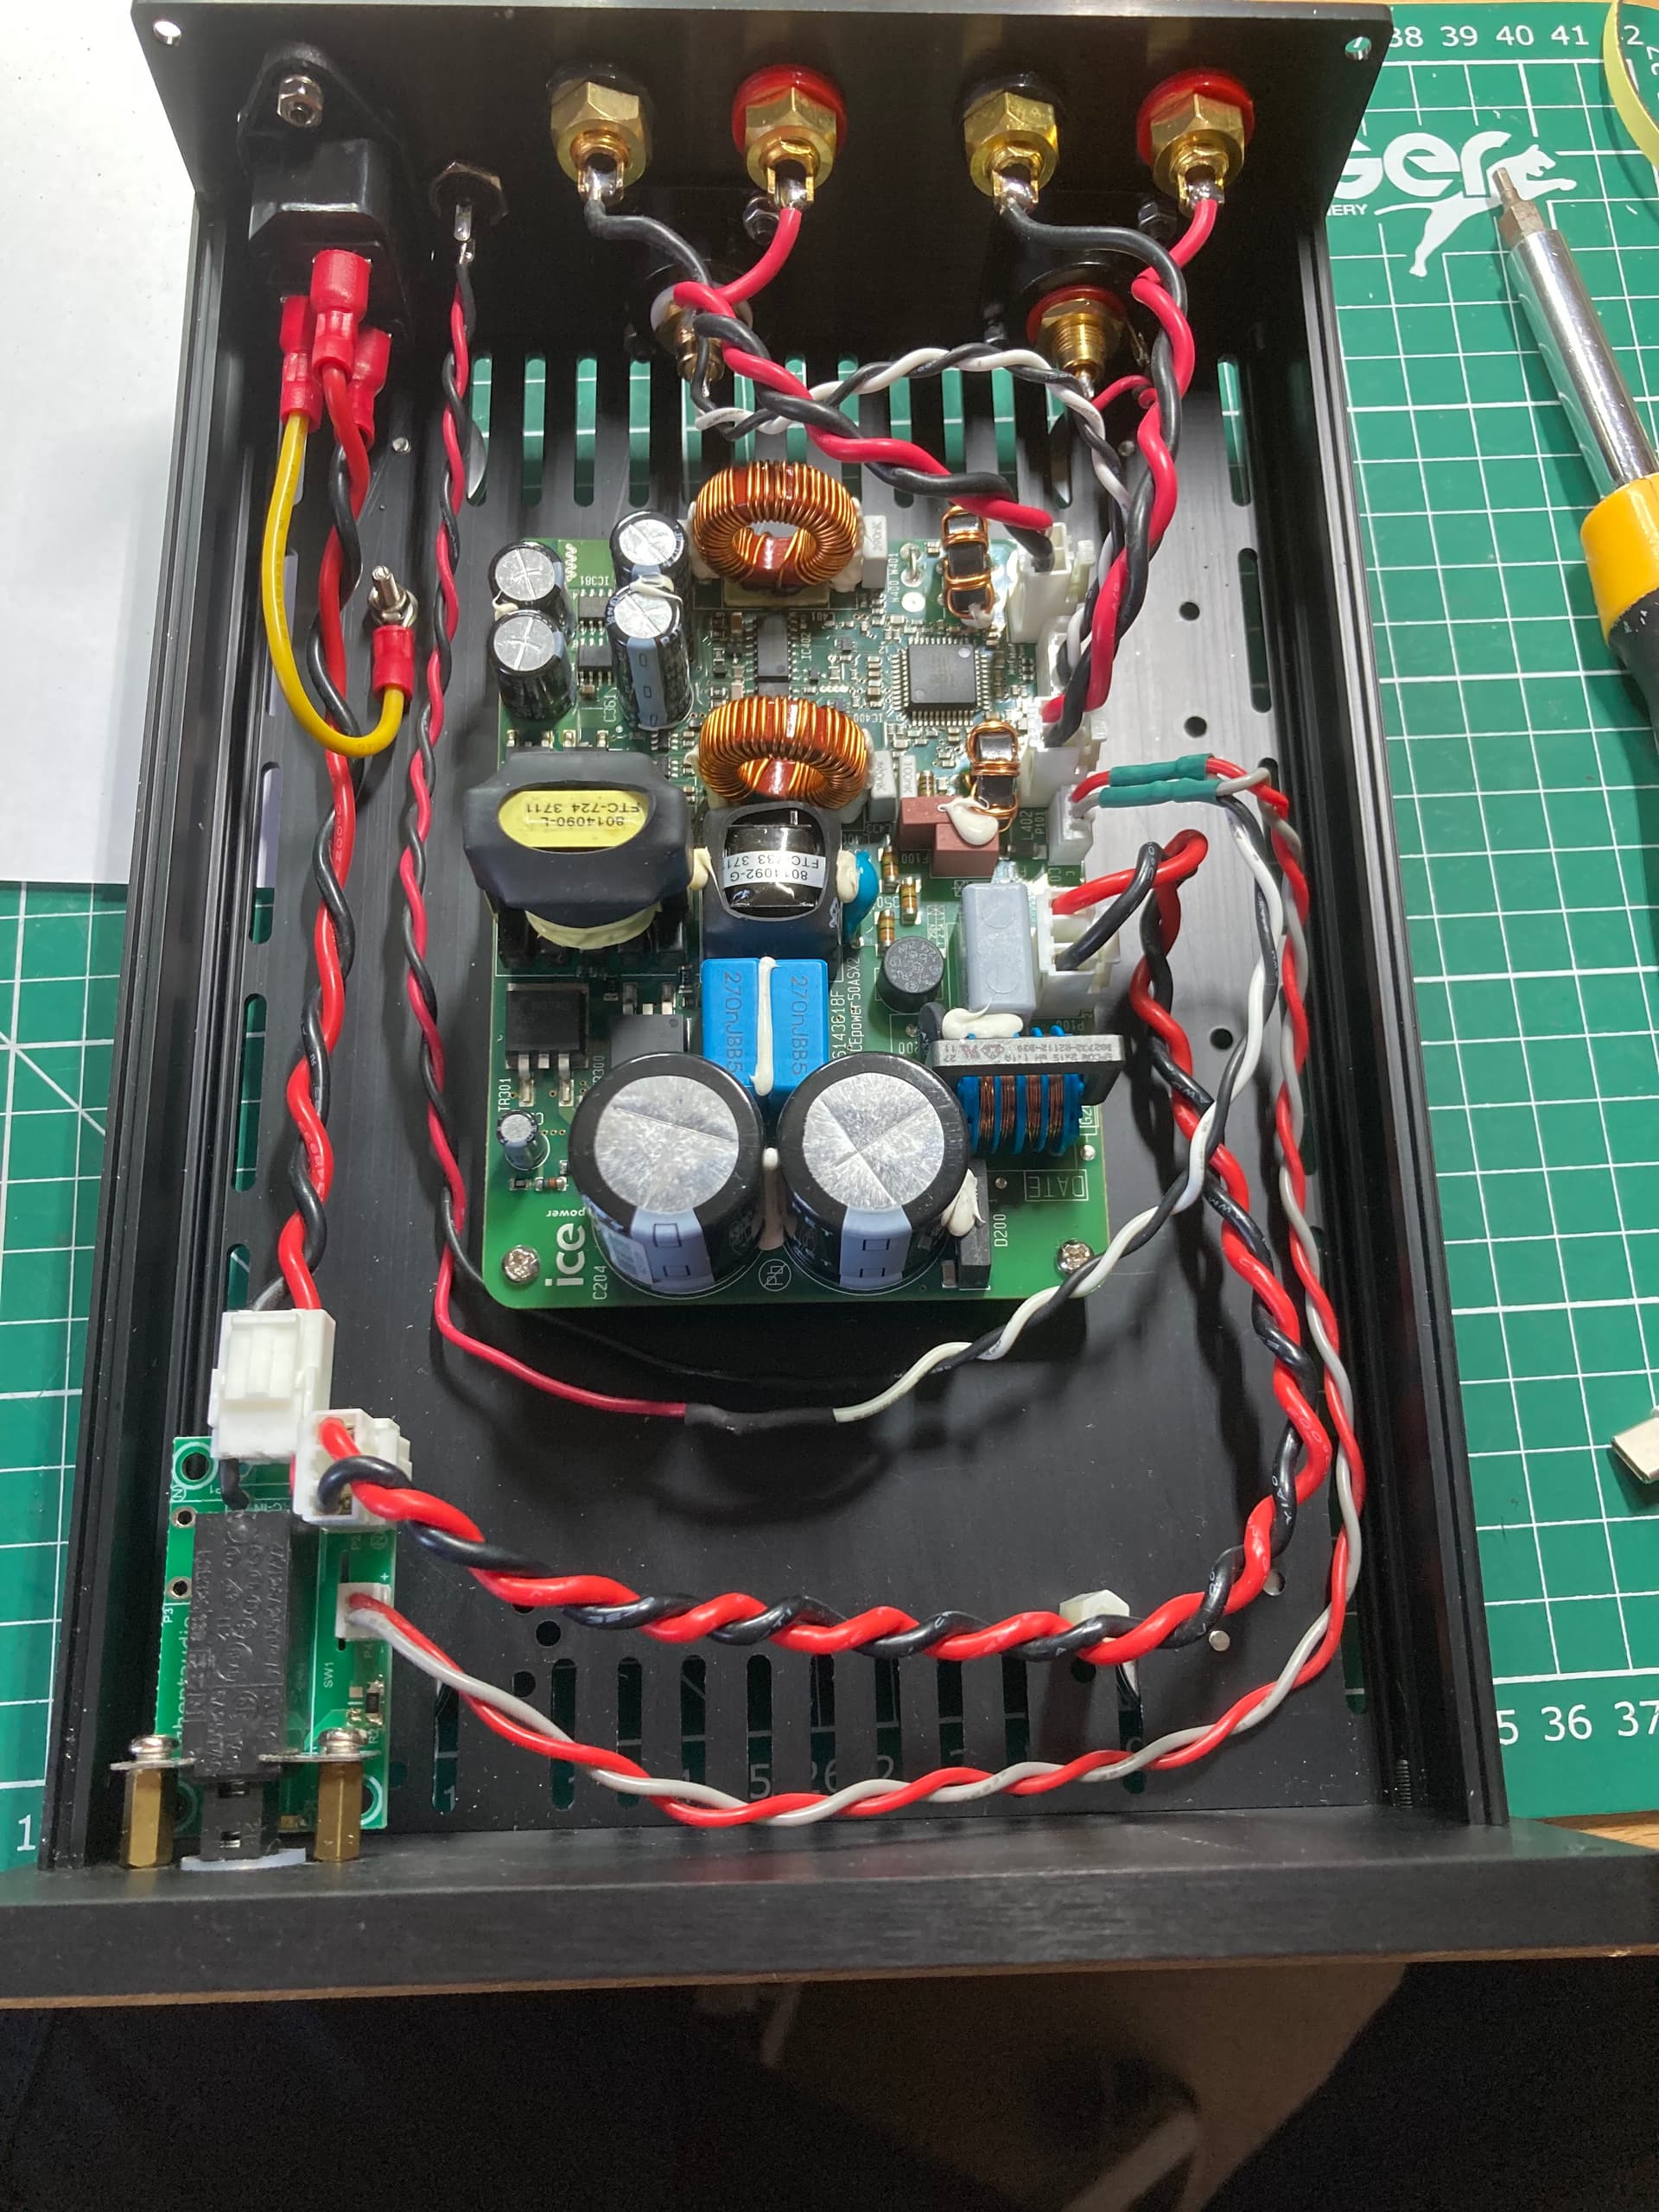
The next part of the system I wanted to change was the power amps. I had been using some old Linn LK240 mono power amps to power my Linn Kan speakers which are passive two-way speakers. Unfortunately, the amps were huge, power hungry and very noisy as the transformer potting compound had probably dried out over the years so they made a loud mechanical hum almost all the time. I needed something a bit more modern. I selected a B&O IcePower SA50ASX2 amp board and mounted it in a case I sourced online. A lot of work here to fit the sockets and wiring and in making sure it is all electrically safe.
These two changes made a huge improvement overall. The Arylic solution was fast to operate and sounded way better than my original Sonos streamer. I used Tidal in HD audio format but have now switched to Amazon so I hope Amazon HD will be supported soon by Arylic. I also use TuneIn which is a really good radio solution. For now, I plan to have a two-room system but may expand this further depending on results. I also connect to the TV in the lounge and feed this via an optical convertor into the line inputs. Again, the sound improvement compared to standard TV speakers is well worth it.
The next upgrade was to add the Arylic accessory board that features the better ESS 9023 Sabre DAC. This is called the Upstream2DAC accessory board and sounds a lot better than the standard on board DAC. I initially had some noise issues with this board but I swapped the interconnect lead for another of the same type and the fault disappeared. Not sure what the issue was but it may have been poor crimping in the first lead. I tend not to use WiFi and have wired the Arylic to my network. It never breaks up or drops out when wired. A wired connection is always better, I think. I have also tested the WiFi connection and have never had any issues with it.
The next and biggest change was a bit of an eye opener for me. My speakers sounded good but always had some original design faults that better amps and steamers could never fix. The response was dominated by some midrange peaks that needed some attention. This is where the ACP Workbench tool came to the rescue. https://www.arylic.com/products/acp-work-bench-audio-effect-toolI bought a decent MiniDSP microphone, the Umik1, to allow me to measure the speakers. https://www.minidsp.com/products/acoustic-measurement/umik-1
The next task was to learn how REW worked. https://www.roomeqwizard.com
REW is a brilliant speaker measurement and EQ tool. I used it to create a set of filters that I could then input to ACP. As a Mac user this meant I had to install Parallels and then work out how Windows works after 20+ years or never using it!
I developed some filters and applied them with ACP and the results were fantastic. It actually took a few weeks of back-and-forth development in order to get it all to work but this is more to do with me learning how it all worked rather than faults in the system or tools. Be prepared for a lot of learning here if you have not used the tools before. It would be great if ACP was able to import the REW developed bi-quads directly as typing the filters in is a bit tricky….the ACP app doesn’t allow easy scrolling so that you can see all the filter settings very easily…probably me and Parallels/Windows issues I suspect. Another good update would be an option to allow linking DSP settings for each channel rather than having to type in each channel separately.
The attached graph shows a before and after measurement. The differences are huge and eliminate the “peaky” sound that the original speakers always had. For me, midrange accuracy was most important so that voices sound natural. All the peaks below 100hz are room reflections and I made no attempt to fix those issues as the small two-way speakers could never meet the demands of any fix. The numbers along the top of the graph show the centres of the 6 separate filters that were employed to fix the response. Once you have calculated the filters (REW does this) you then transfer those settings into the Arylic based DSP using the ACP interface.
Result. A great sounding system that sounds way better than expected and certainly a lot better than you would expect for the price. It is surprising how good the Arylic in conjunction with ACP is. The faults of the old speakers were effectively designed out and the sound improvement is huge. It is a bit daunting getting to know all the tricks but it was definitely time well spent.
Next steps; I plan to go active with the speakers which will mean a few other significant changes. In order to do this, I will need to move DSP settings out of the Arylic solution and change to a MiniDSP HD DSP 4 channel unit as the Arylic units are 2 channel and do not support the multiple outputs which are required for a 4 channel active system. I will need to then develop active DSP based crossovers and an overall DSP tuning set up in the MiniDSP. Doing it this way will also allow time alignment. It will also mean either removing the passive crossovers from my current speakers or I suspect I will actually build a new pair of active speakers. The Kans are probably worth more in their original condition so dismantling them is not a good idea. Another IcePower amp will also be used so that it will then be one stereo amp per speaker with each channel driving bass and treble separately.
The new HD streamer from Arylic will probably be put to good use when I make those changes. Up2Stream HD DAC - High-Res Multiroom Wireless Aptx HD Audio Streaming – Arylic I already have one and it sounds very good…just need to work out what I do first. The options that the Arylic components bring are amazing. Sure, you need some basic audio skills but the results I have got make it all worthwhile.
More to follow.
MartinD