DIY project with Arylic up2stream V3 and 3D printer

Hello All,

A few months ago I got the idea to upgrade old computer speakers with a wi-fi module. After some research I ended up with the Arylic up2stream v3 as the Wi-fi/Bluetooth module. Since this was my first project like this, I didn’t want to risk buying expensive speakers which I might ruin, so I used old computer speakers. I also wanted to give the speaker a new design since it was outdated. The goal was to create a design which would allow the left/right speakers to be combined as one. After some trial and error about what works and what doesn’t, I ended up with a design based on the Sonos play 5. I had to modify and change the design to fit my 3D printer. The main limitations are the build plate and printing with as little as possible support.

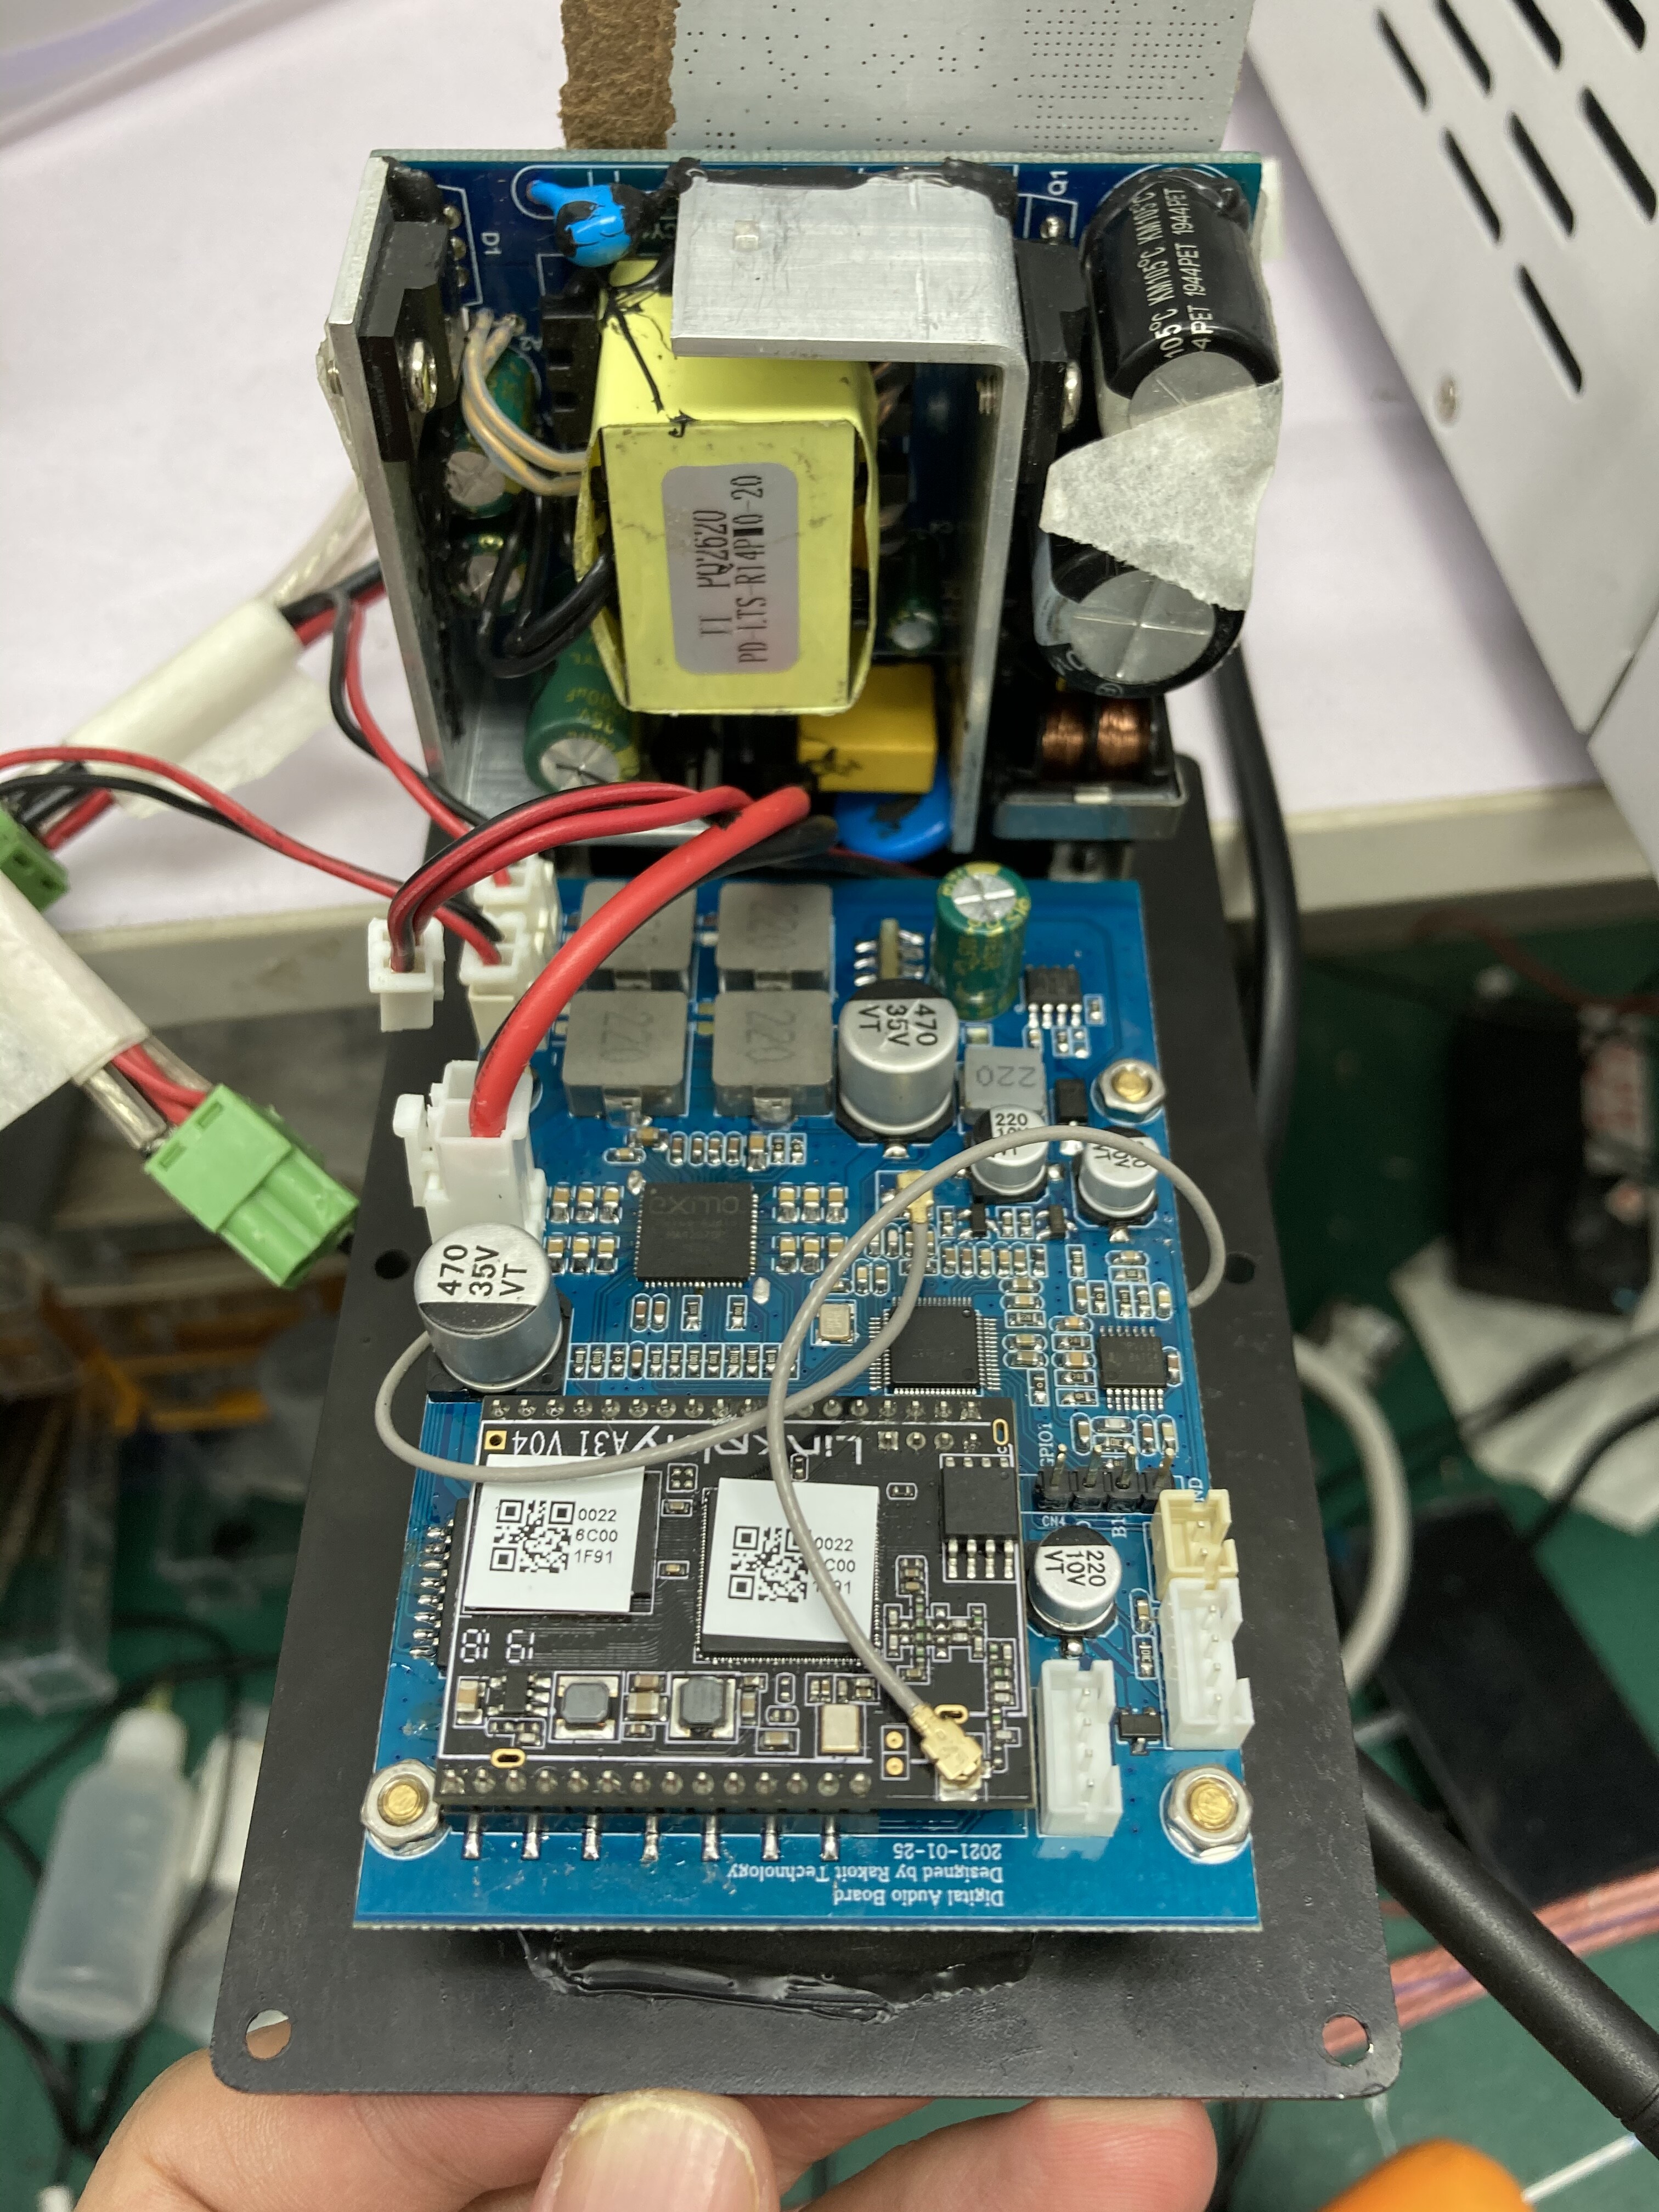
Next up, I needed to do the wiring. The Arylic up2stream v3 requires a 5v power supply. The speakers required a 12v power supply. I ended up splitting the incoming 230v/240v power cord, one end would go to the transformer of the speakers, the other to a (stripped) smartphone adapter. A simple usb cord then goes to the power supply of the Arylic up2stream v3. Lastly, the connection between the Arylic up2stream v3 and circuit board of the speakers is made via the amplifier port on the board. This leaves the 3.5 jack-out port free to connect a second system if needed. The results are shown below (the cable management hasn’t been done yet).

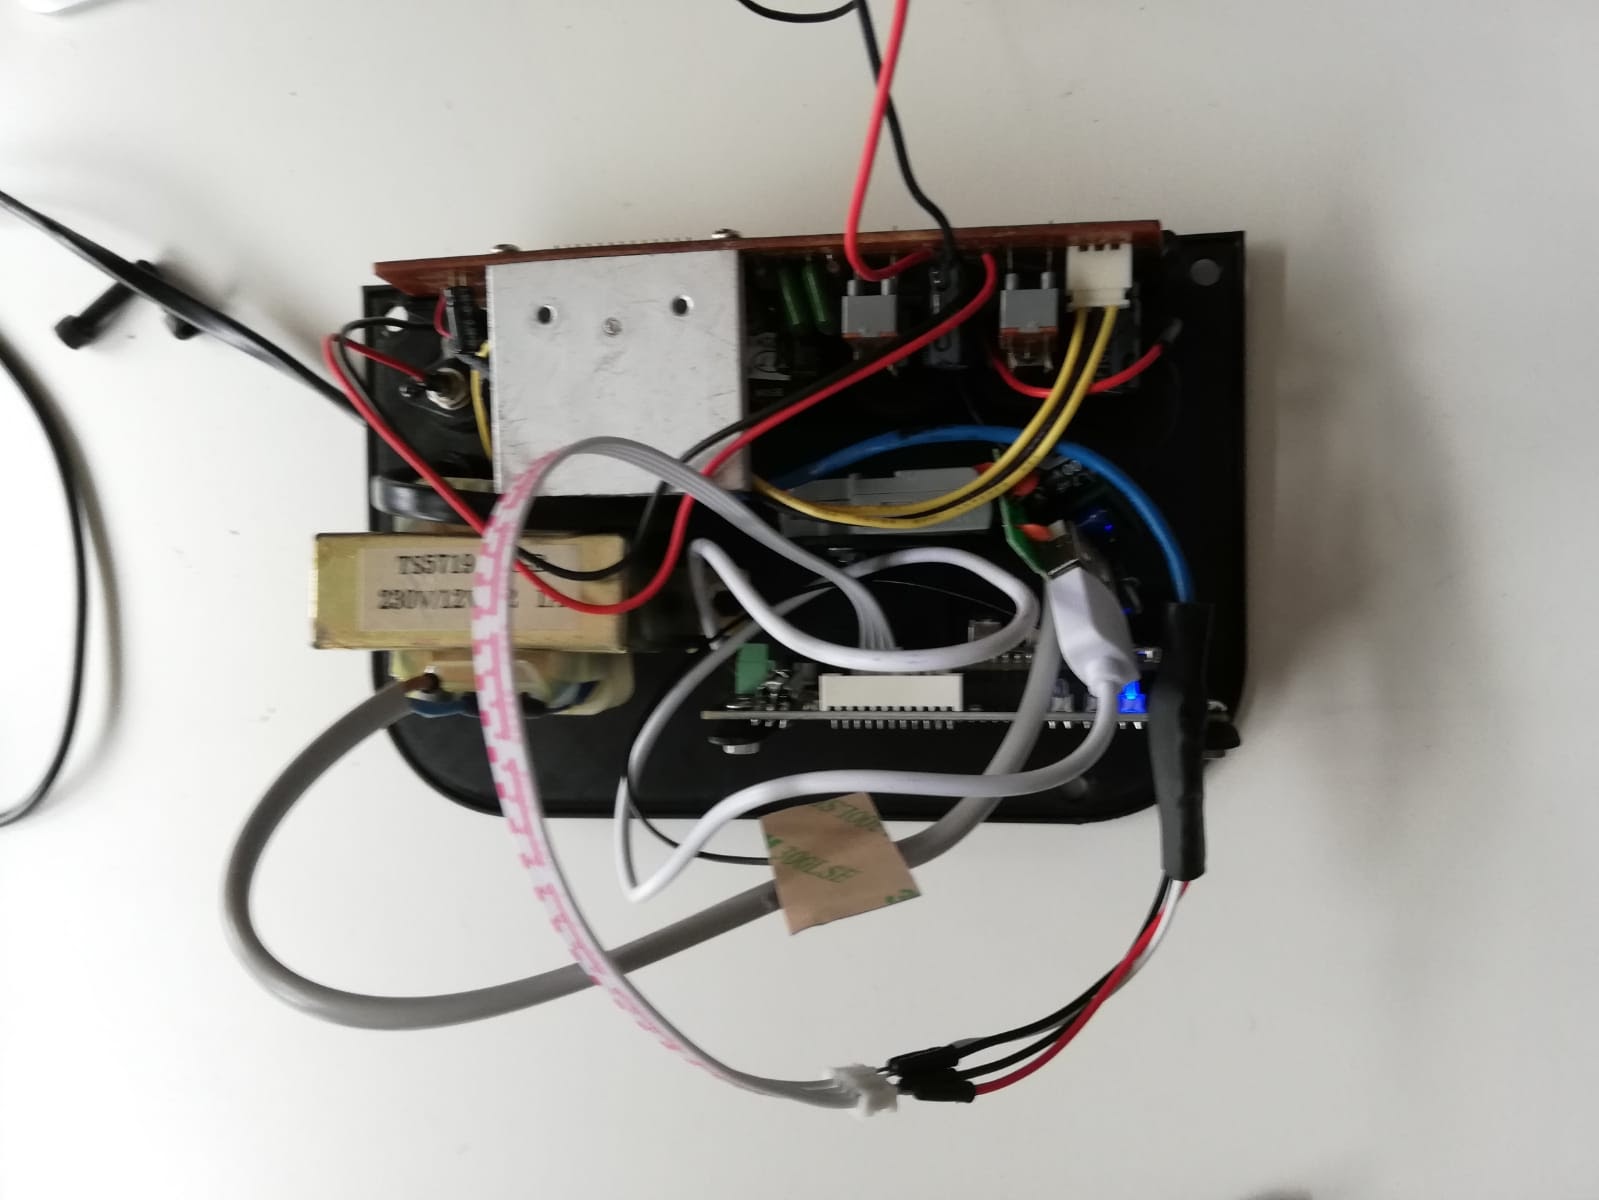
Figure 1 - Top view of the cicuitboard, transformers and Arylic up2stream v3 connected to the backboard of the speaker. The Arylic up2stream v3 can be seen at the bottom right.

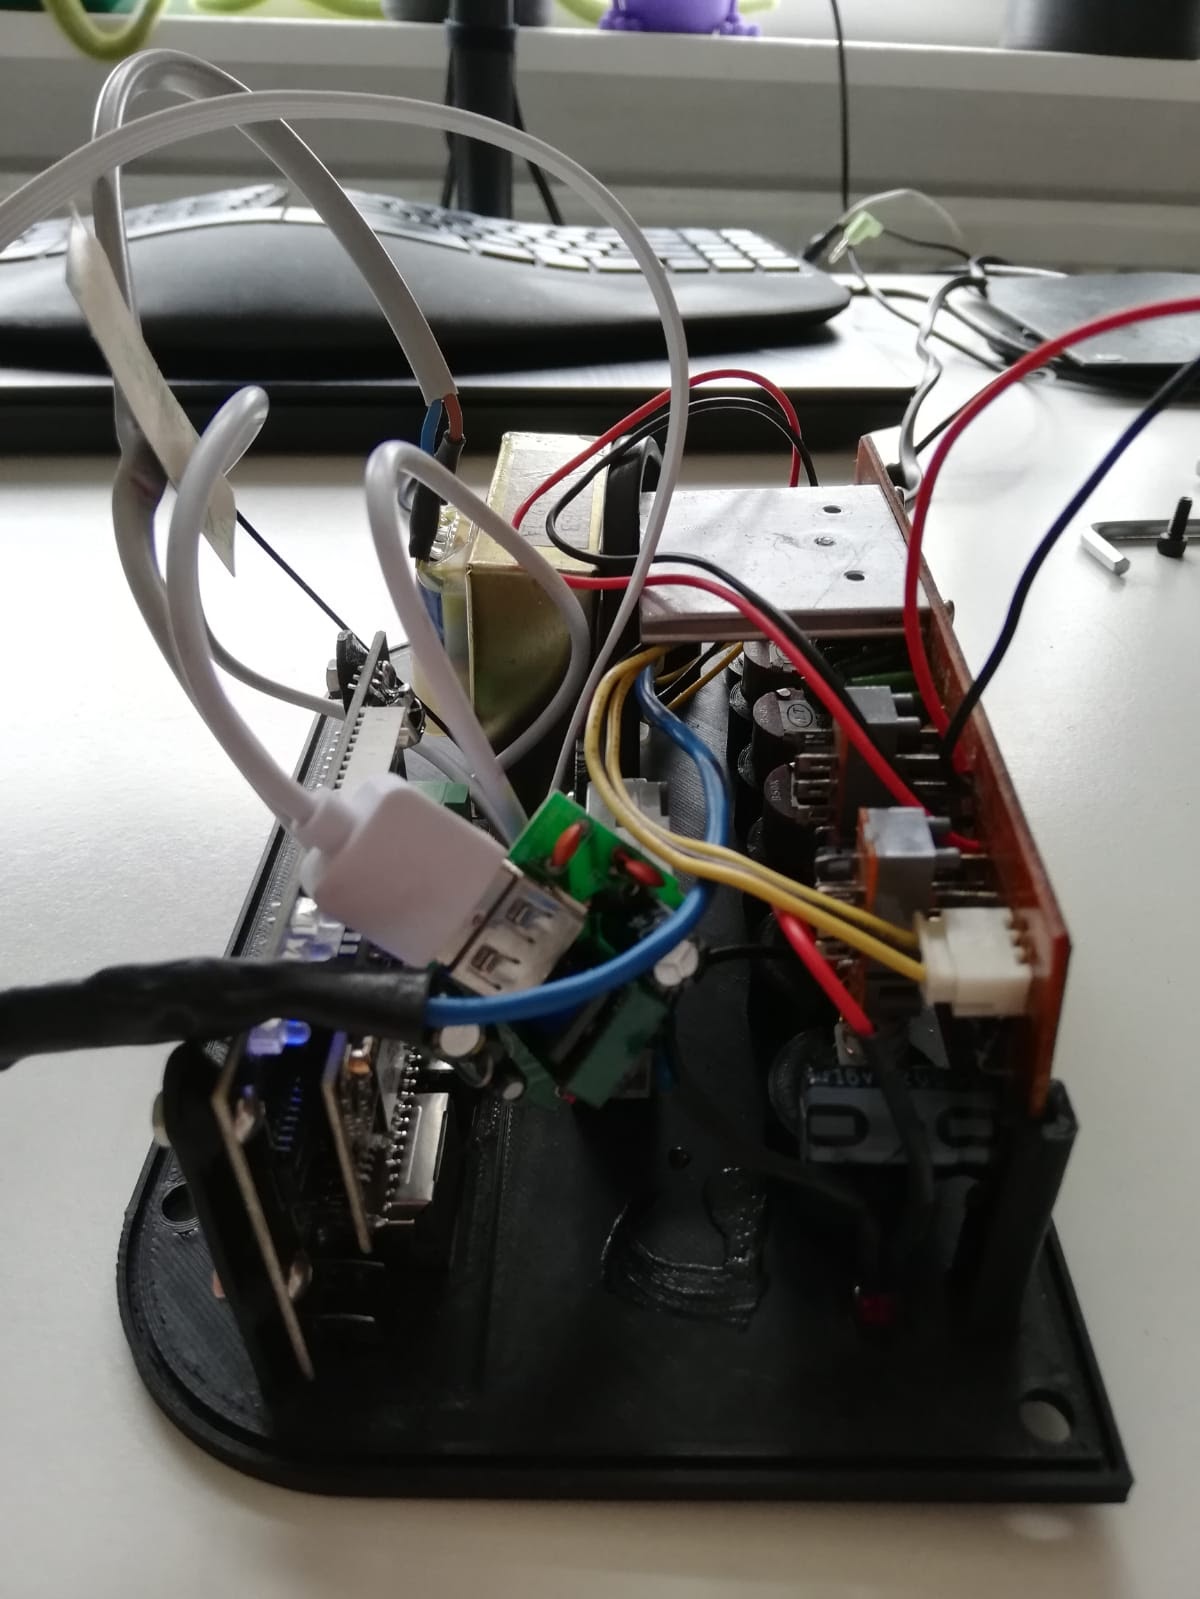
Figure 2 - Side view of the cicuitboard, transformers and Arylic up2stream v3 connected to the backboard of the speaker. The Arylic up2stream v3 can be seen at the bottom left.

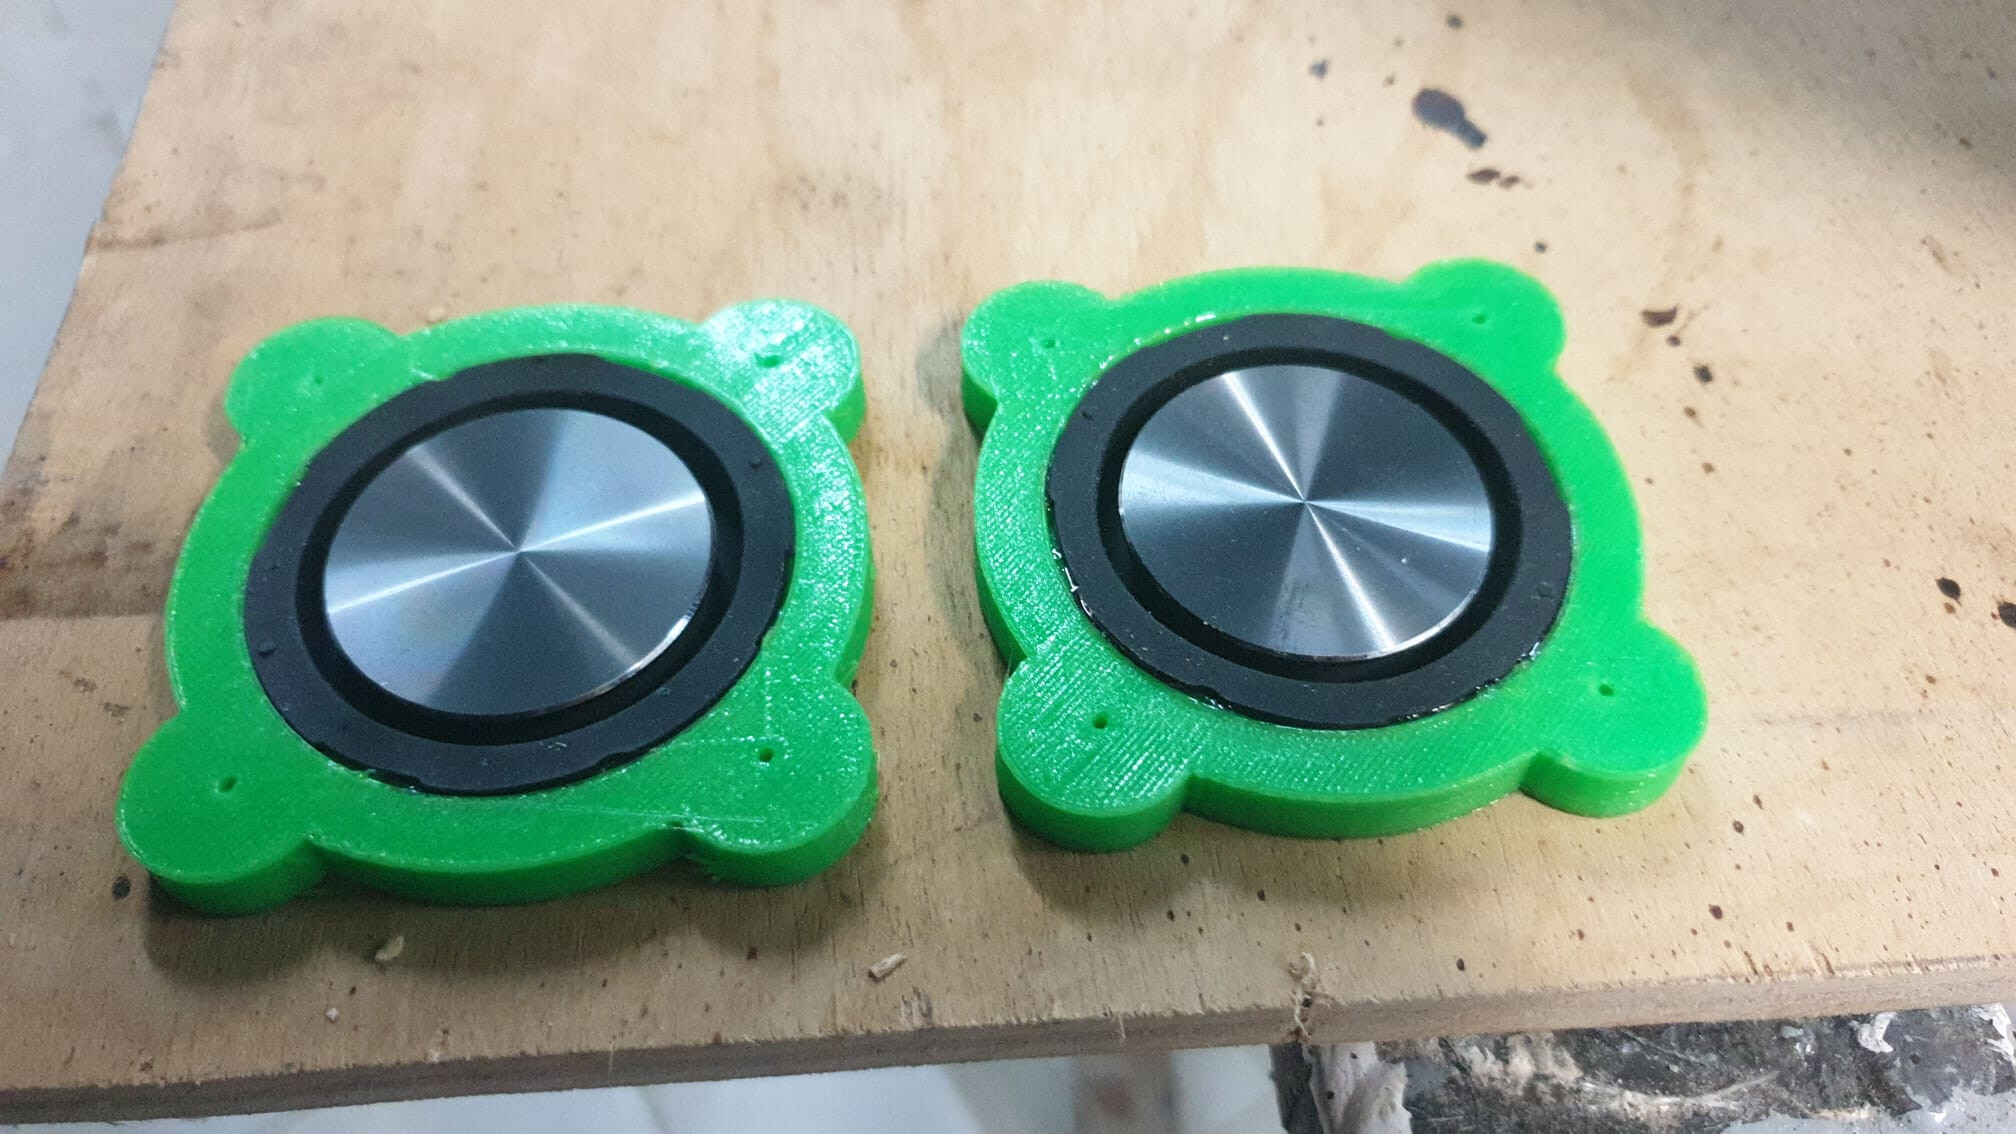
After having this part working, it was time to finish the design. I wanted to connect the two parts of the speakers using magnets (bad with speakers I know, but I assumed/hoped they were weak enough to not cause noticeable disturbance). Secondly, I wanted to 3D print the front grill as well and make it attached with magnets in order to easily take it off if needed. Lastly, when combined there should be a third grill which should cover both speakers to make them more coherent. This put some difficulty on the design since my built plate could only handle 300mm by 300mm (and 400 in height, but that is not a stable print). The final results are shown below.

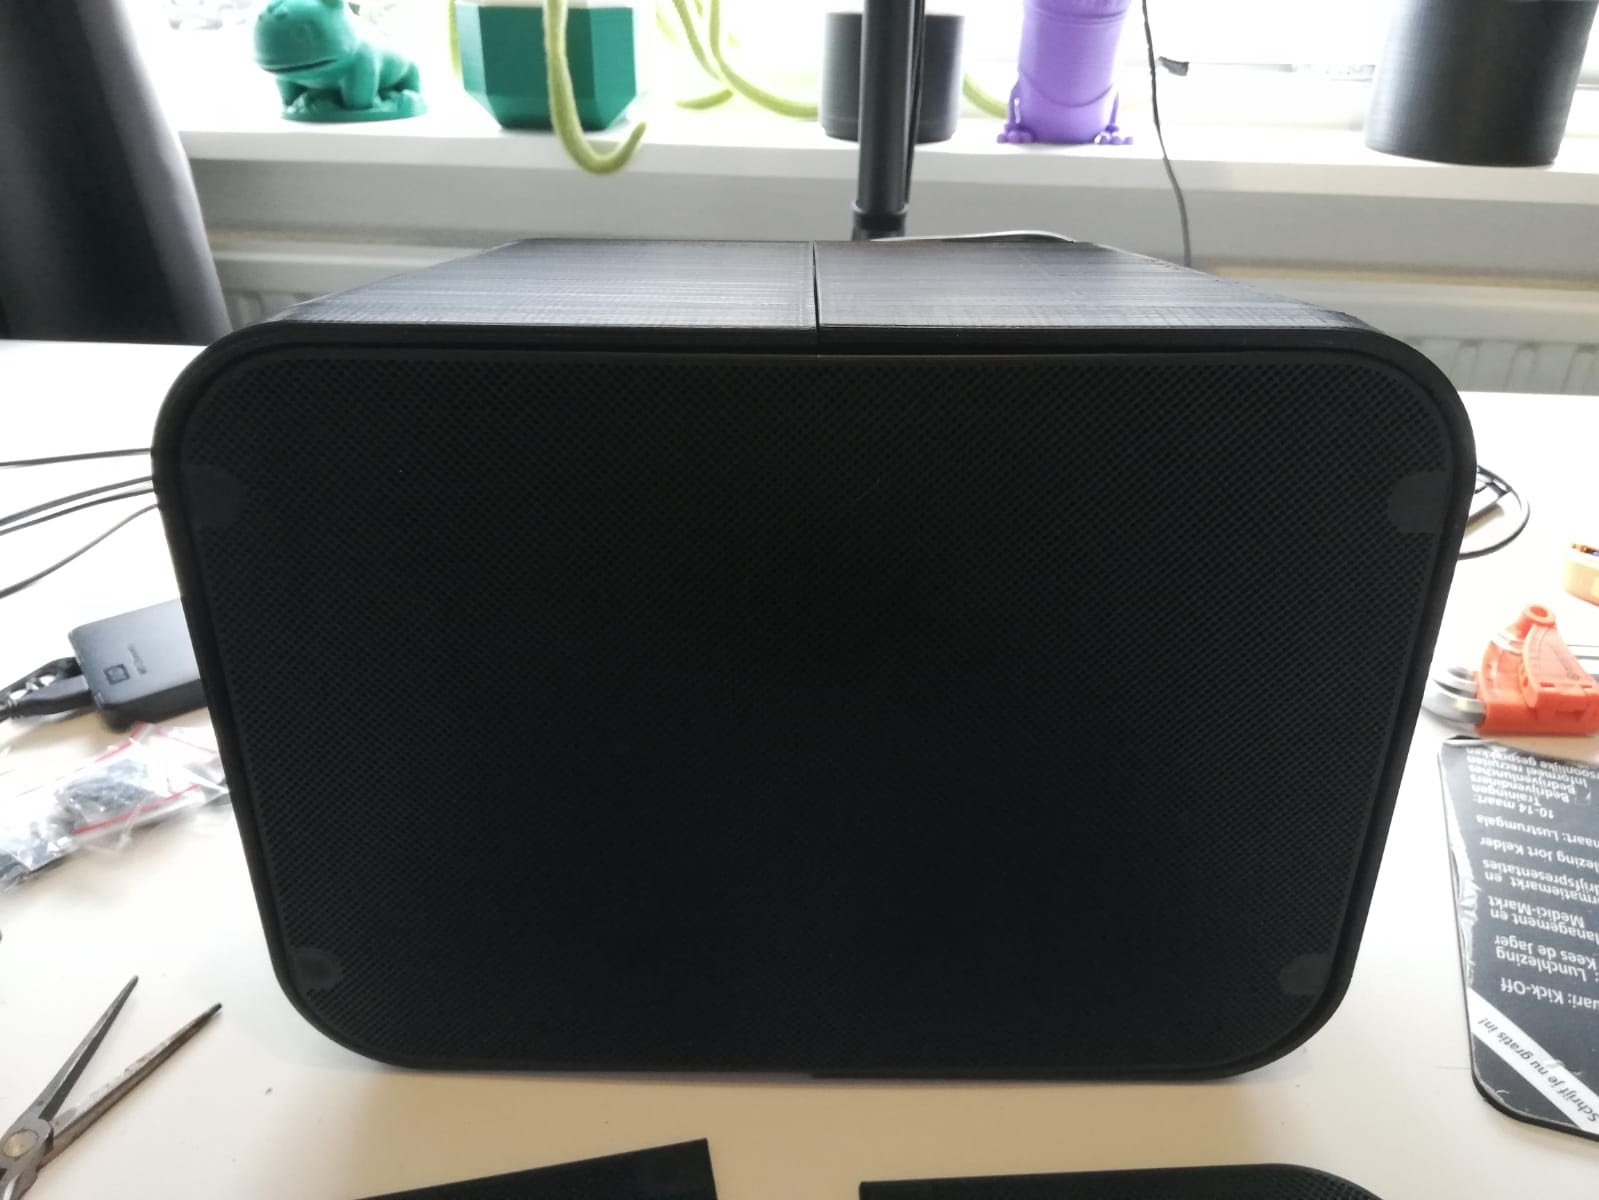
Figure 3 - Combined speakers with a single front grill.

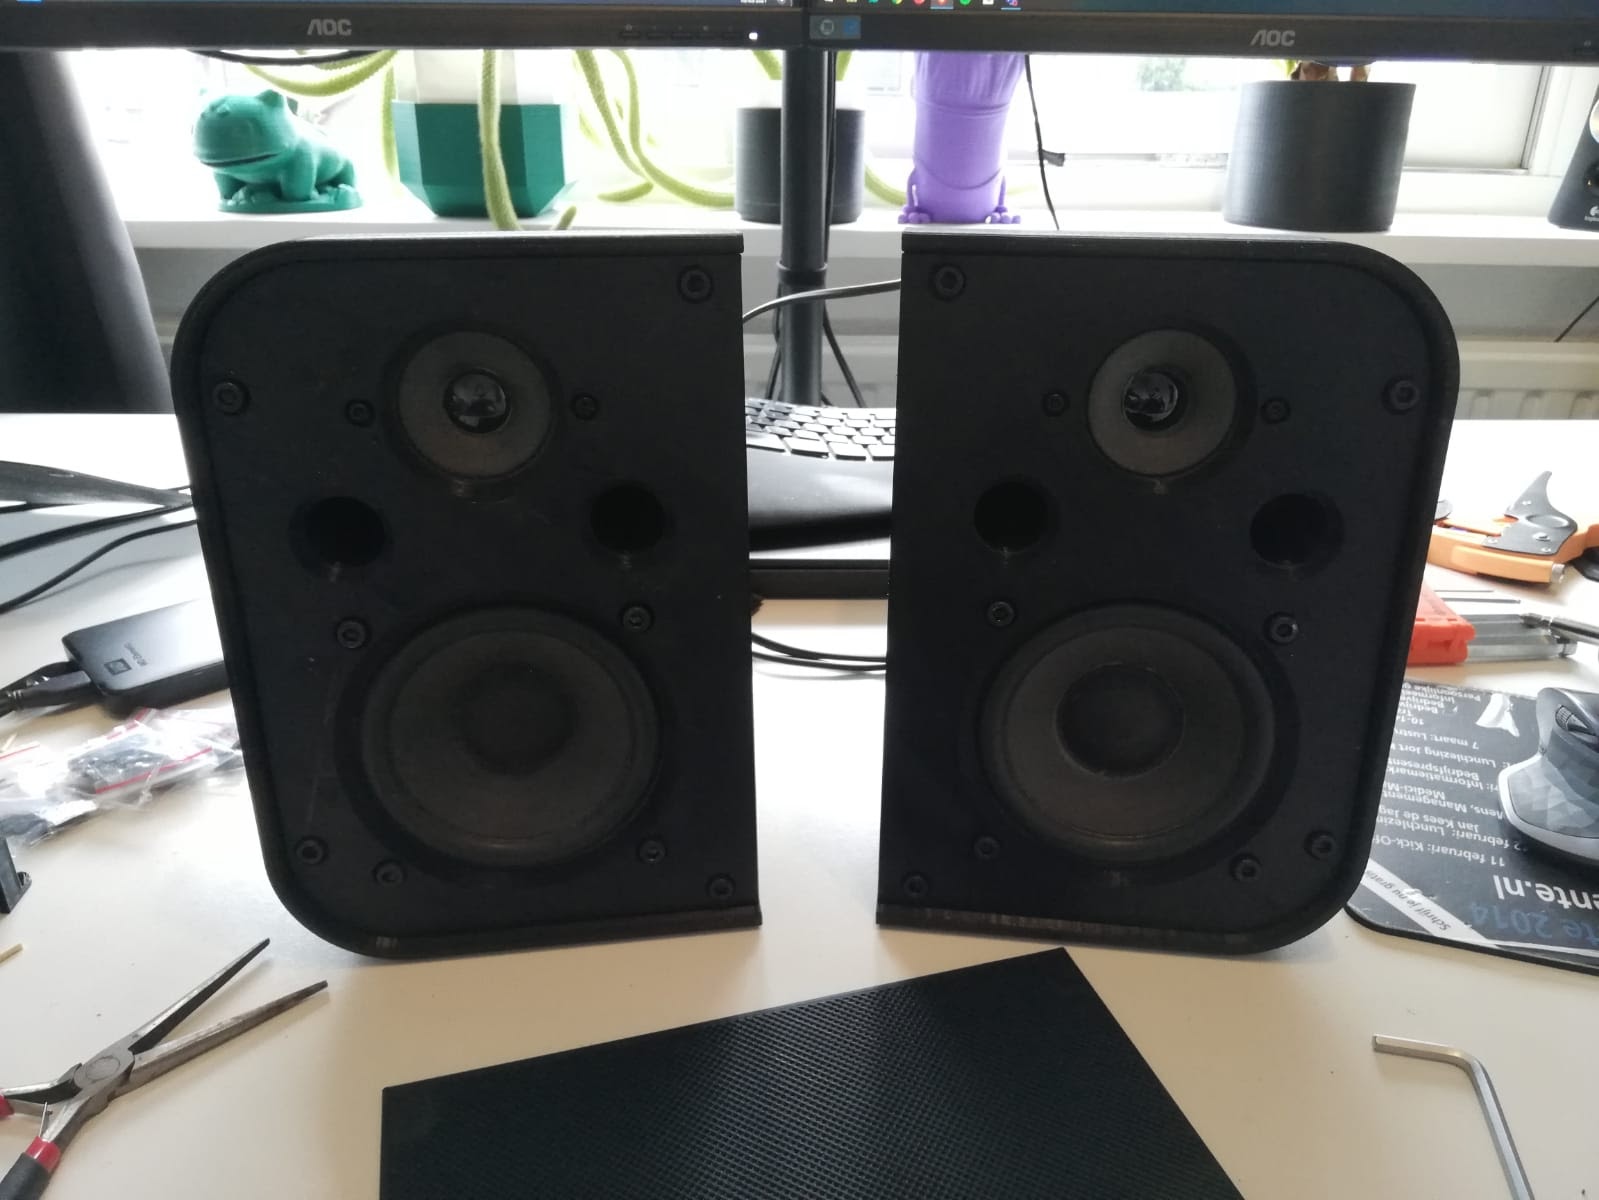
Figure 4 - Speakers without the grills.

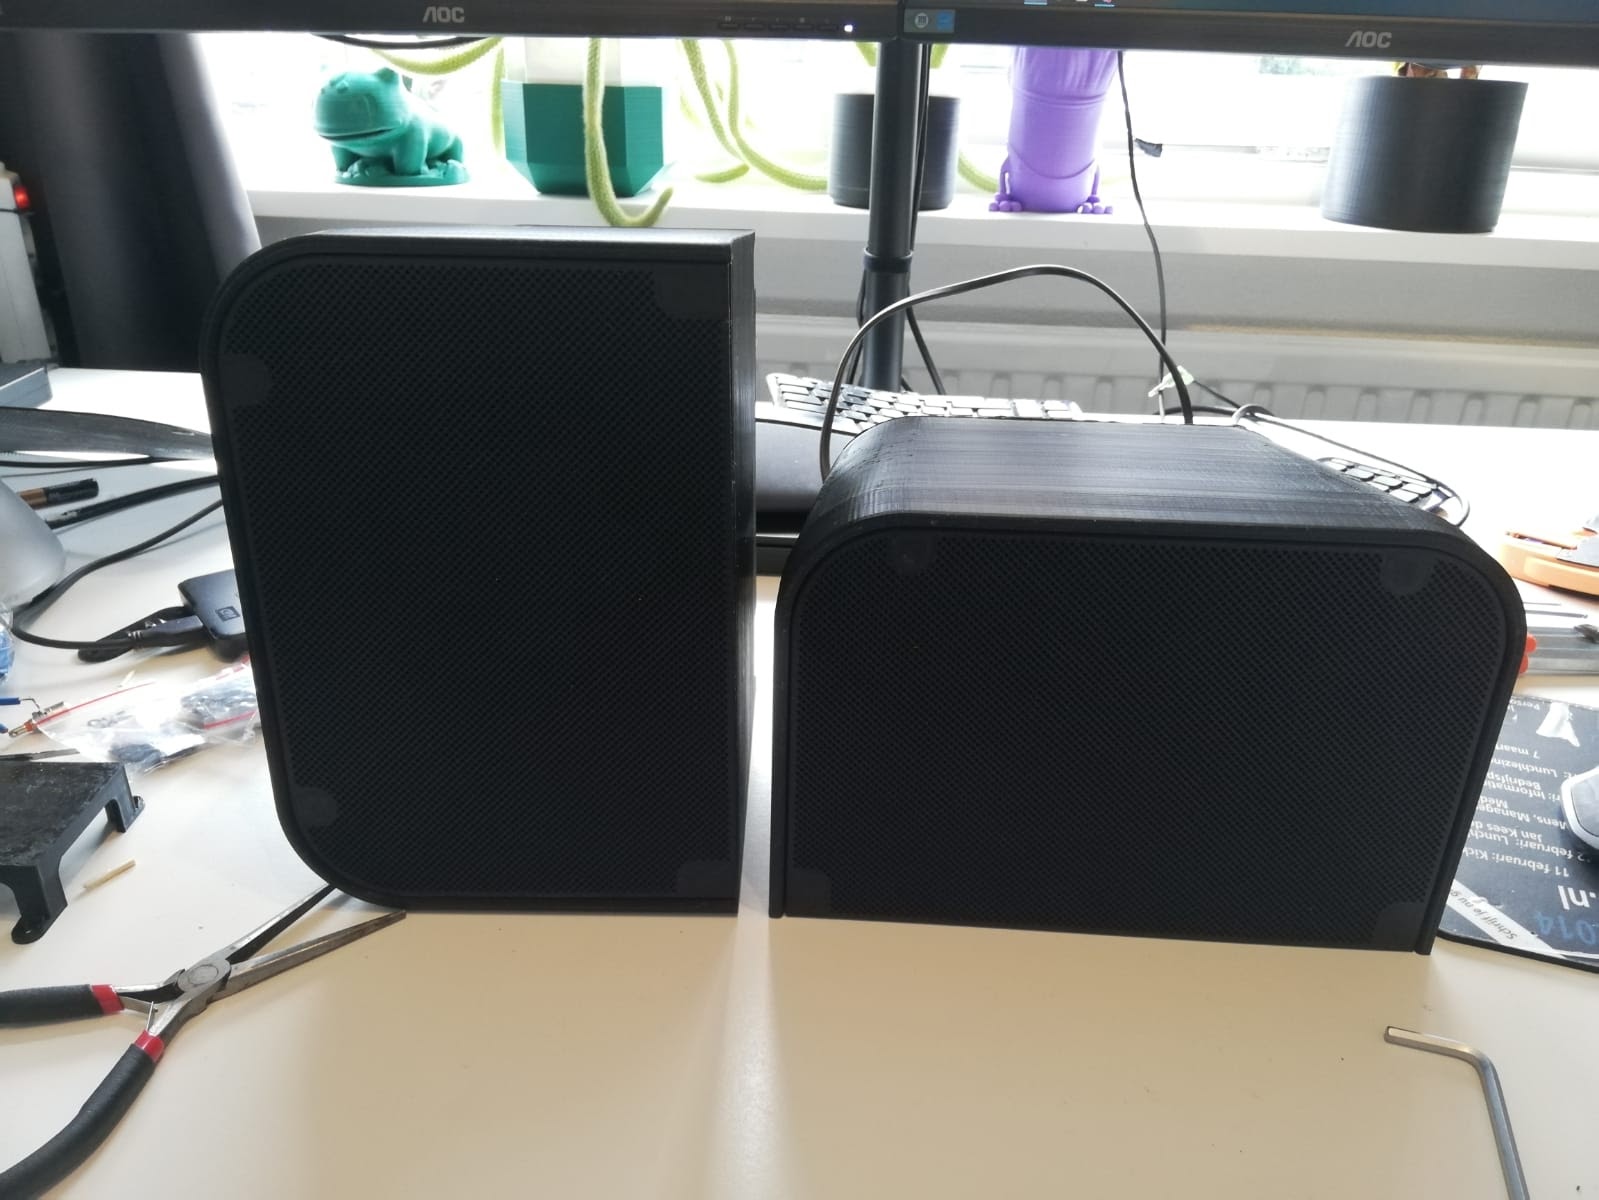
Figure 5 - Speaker orientation options. In addition, some magnetic feed can be attached to the horizontal mode to lift the bottom at the front a little (the feed are connected to the back).

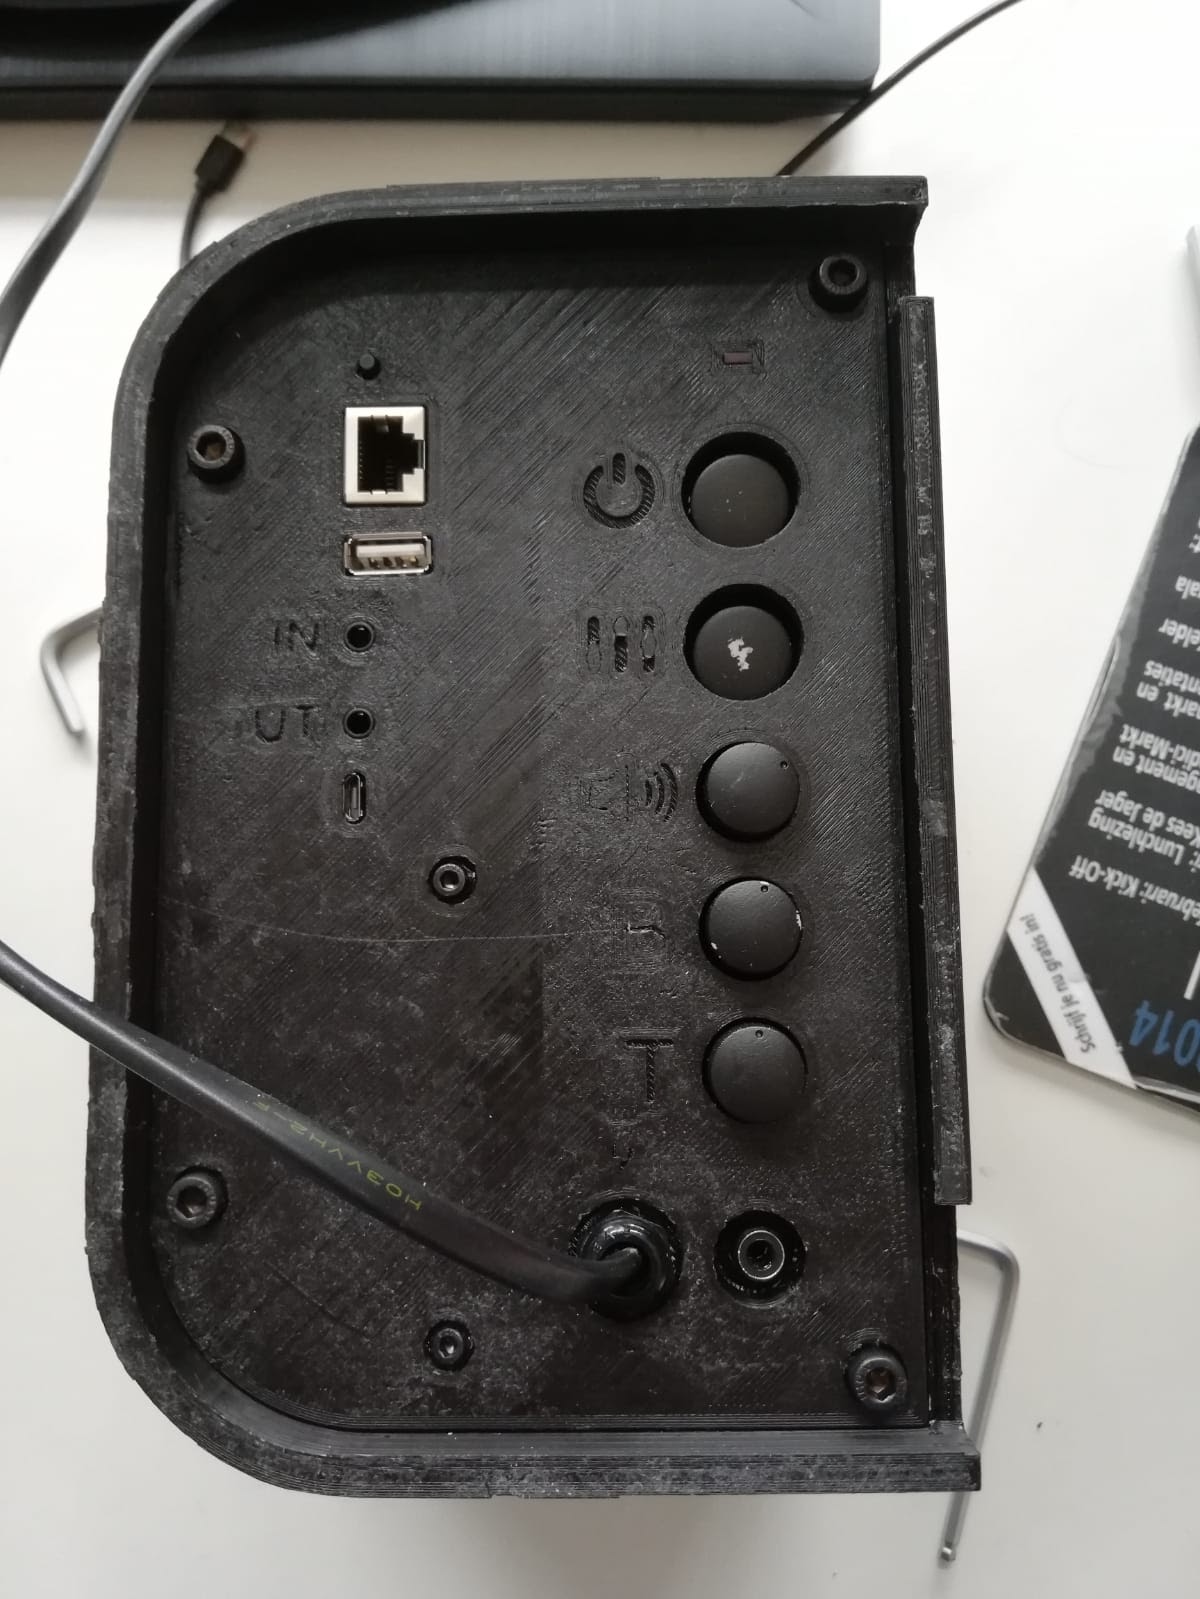
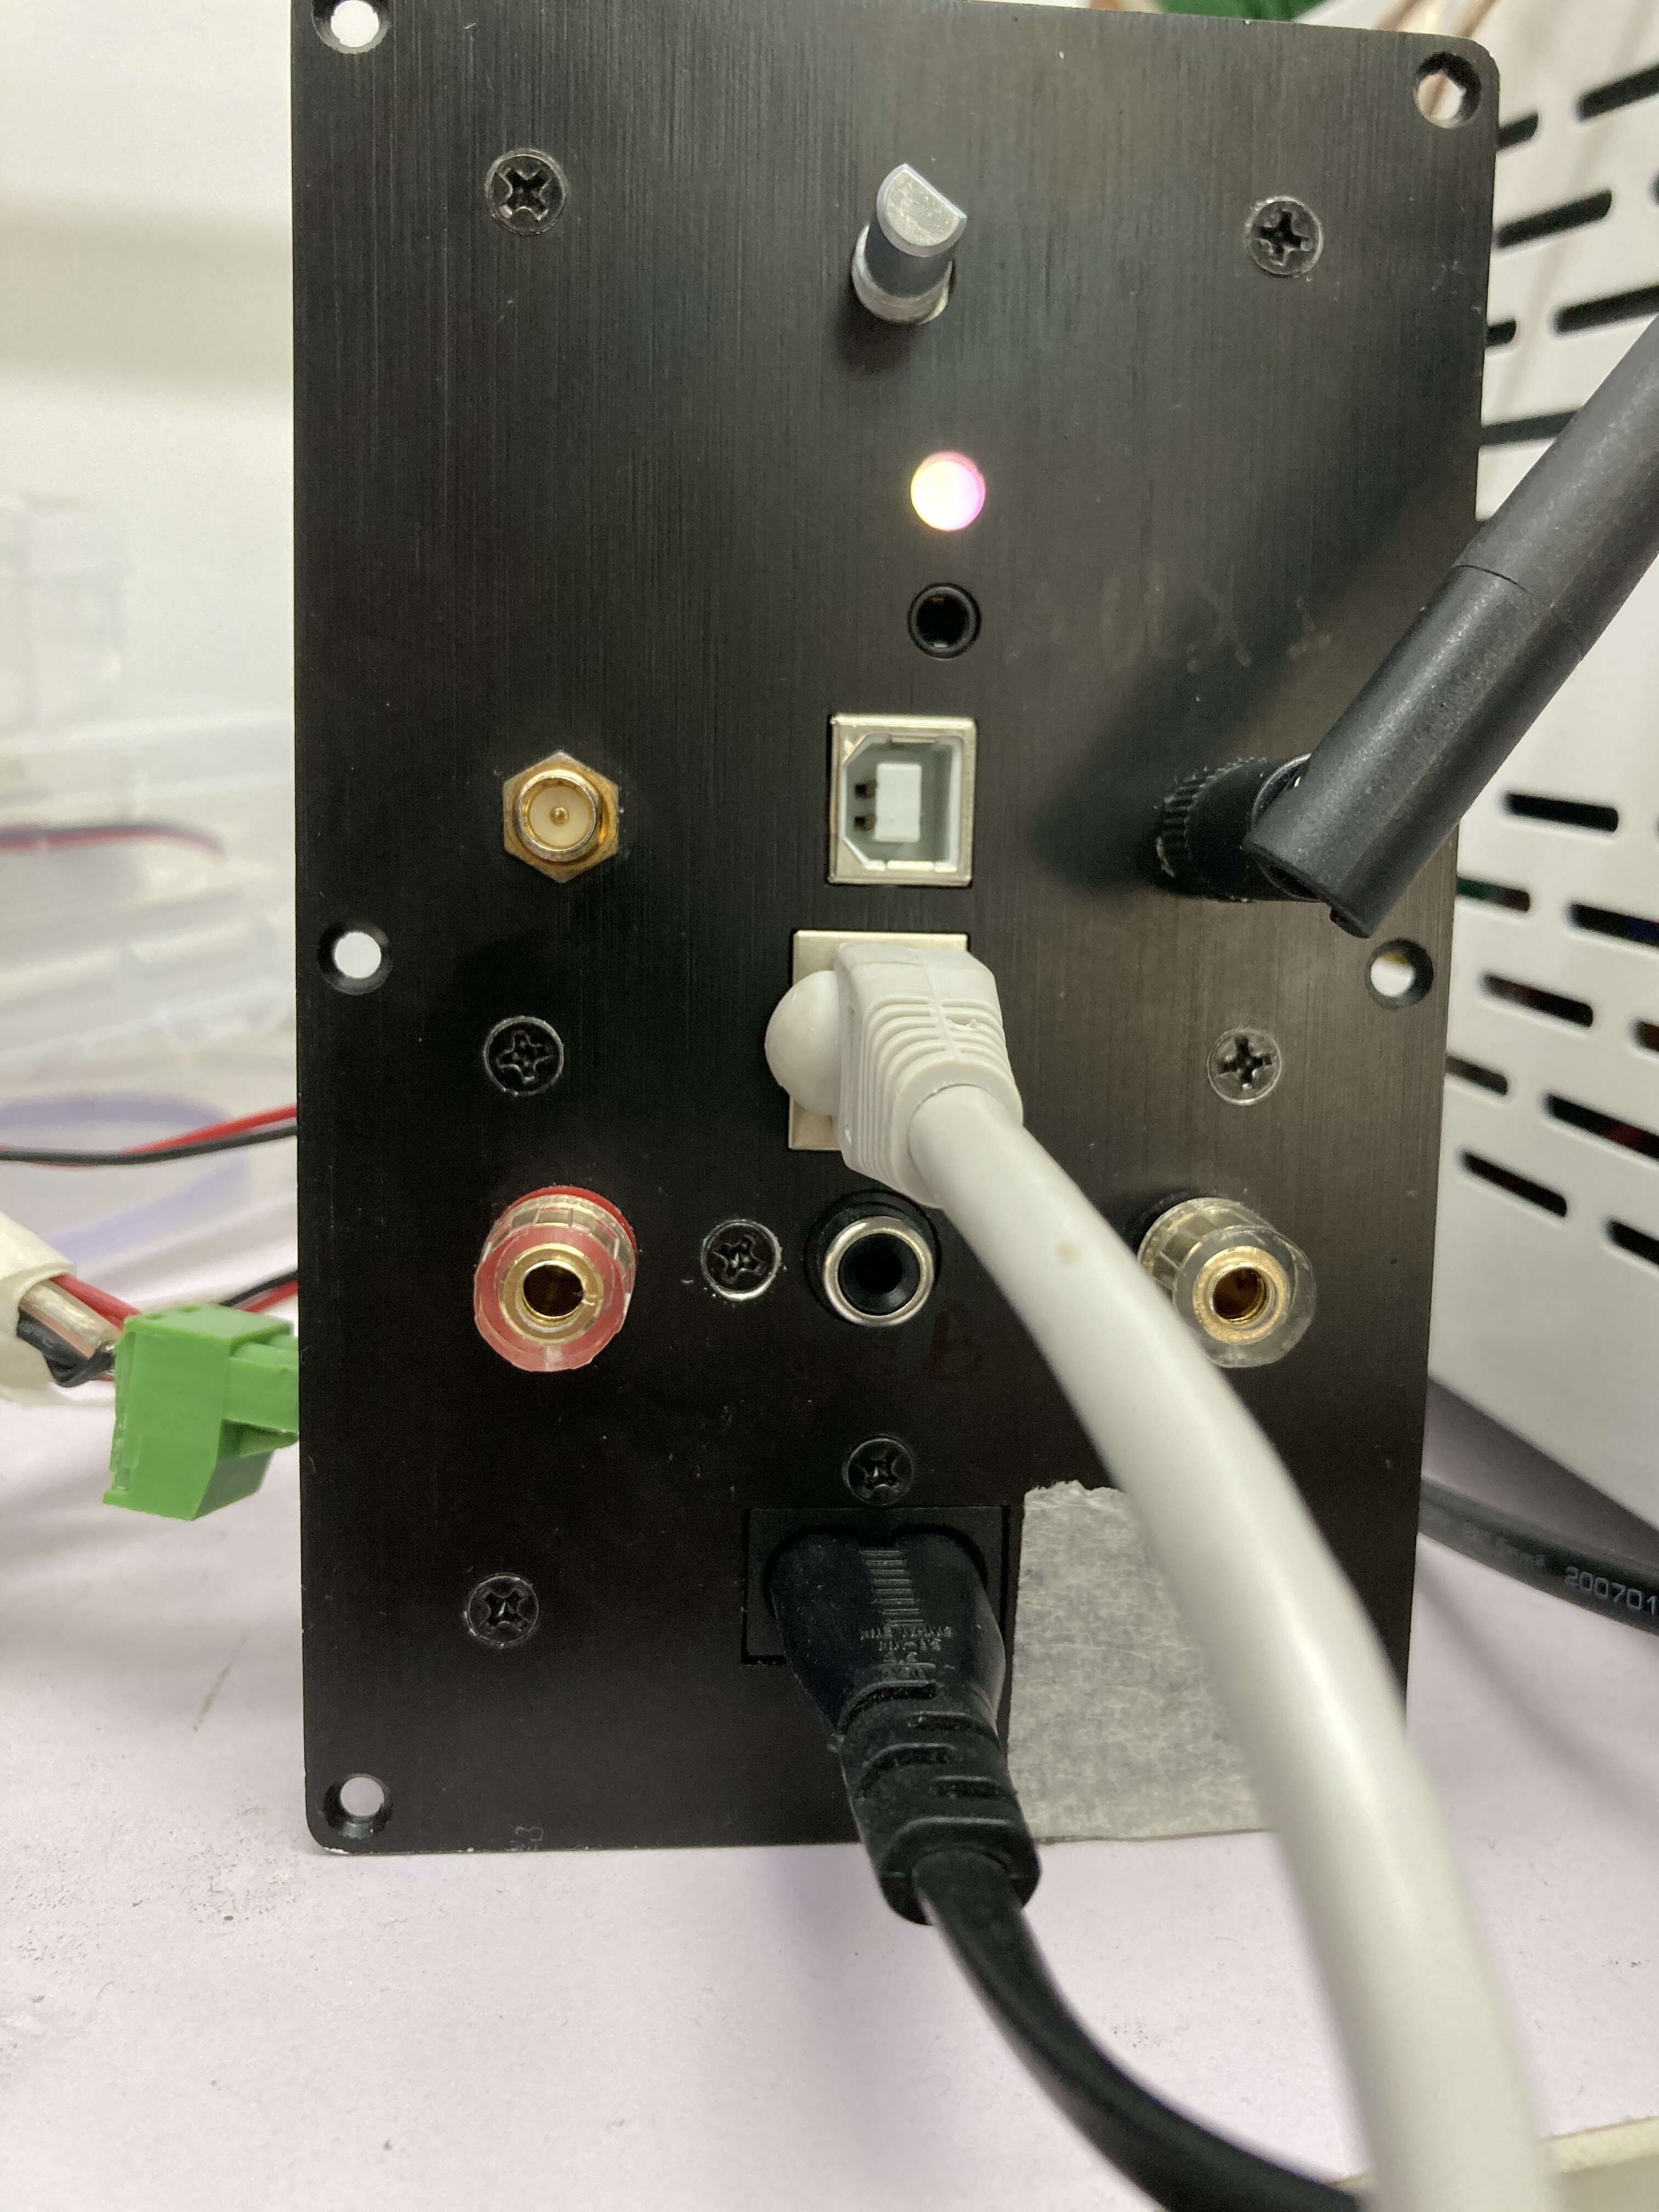
Figure 6 - Back of the main speaker with the up2stream pro V3 at the top left.

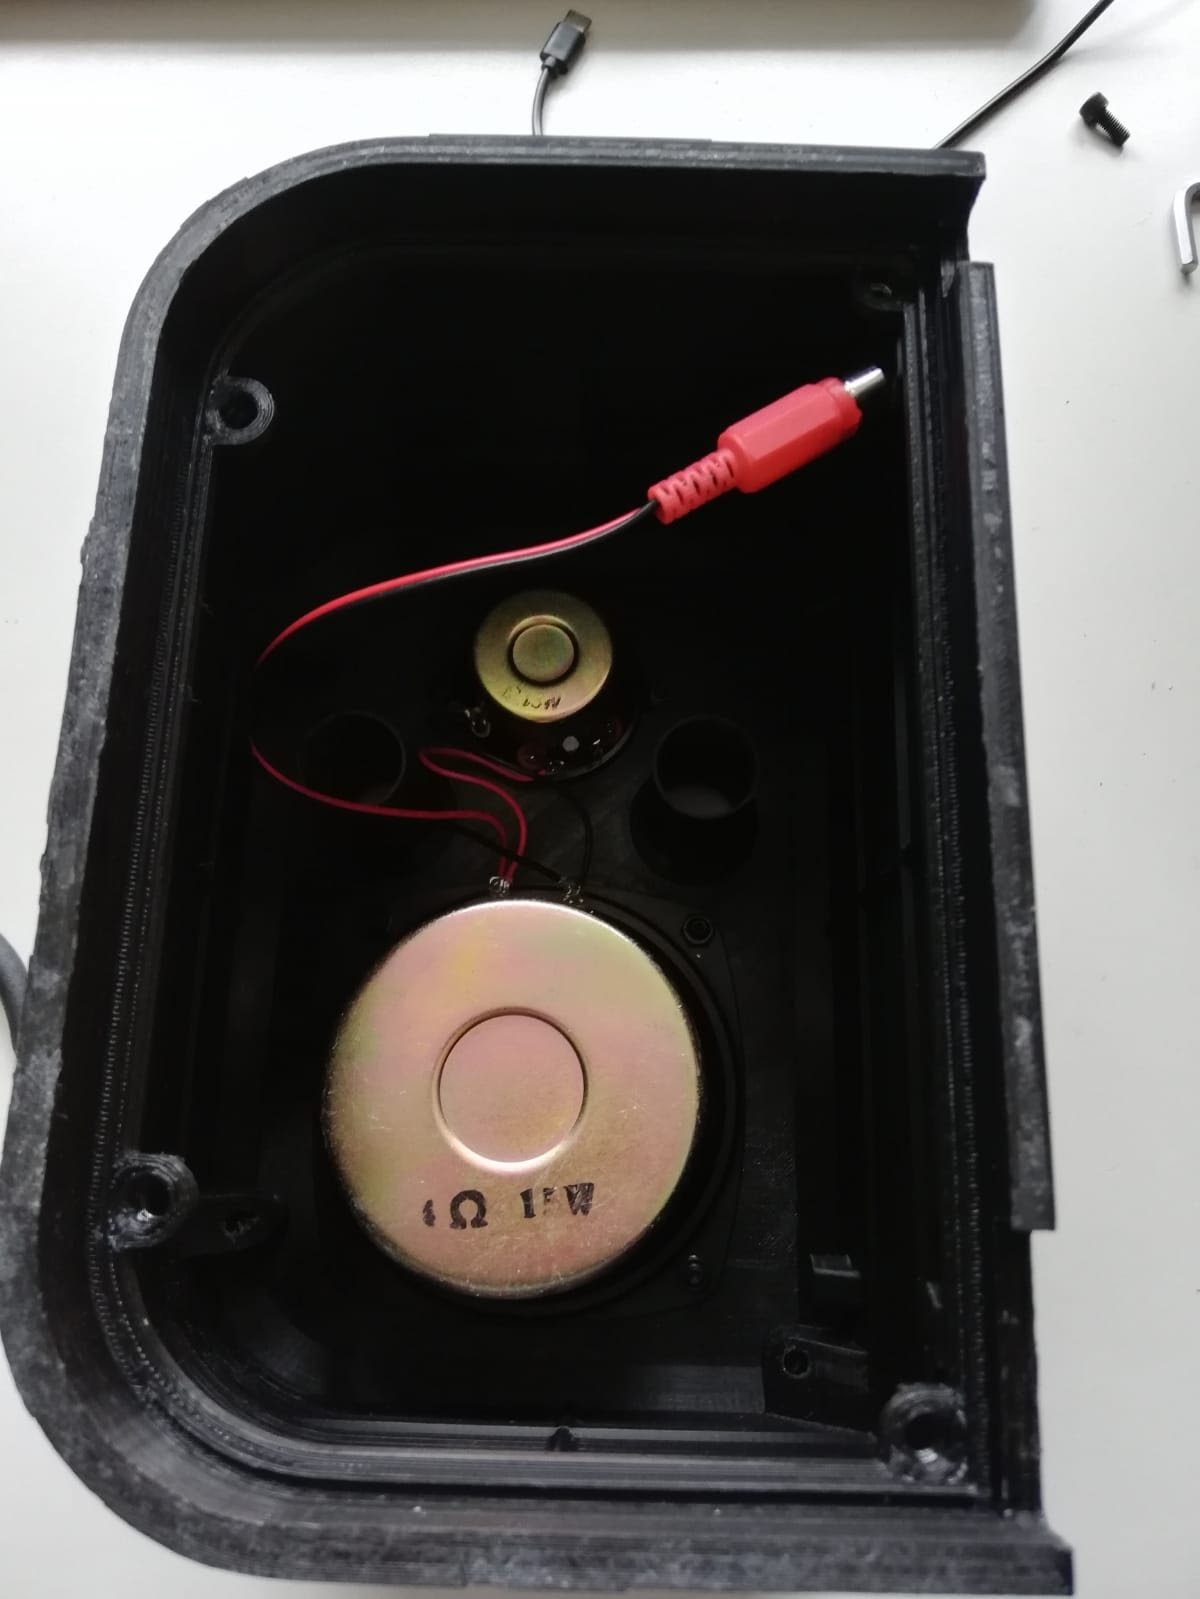
Figure 7 - Speaker without the back cover.

The speakers work quite well, I haven’t noticed any issues with the up2stream V3 module. However, since I have used old speakers, the quality can be a bit better. In order to temporarily solve that, I connect a second (2.1) system via the 3.5 jack out on the back, this works perfectly and really gives more depth to the sound. I am thinking of doing a similar project in the future with self-built Hi-Fi speakers. Overall, I definitely enjoyed the experience for my first DIY project with regards to speakers.

2 Likes

Wow, it’s a cool design for seperated speakers (although from Sonos :slight_smile: ), great job. We would release a plate for speakers soon, very easy to integrate, so you only need to consider the casing design and speaker, maybe less fun for wire connecting and soldering :joy:

Could you share your experience with 3d printing speaker? I have a 3d pritner at home and this idea was in my mind, i’m always worried about the how plastic sound.

Thanks,

Joan

Thank you for your comment!

What do you mean by “we would release a plate for speakers soon”. As in a front plate to which you can attach the drivers or am I misunderstanding you?

Hello Joan,

So far the experience has been good! However, as mentioned in the post, these where old computer speakers to begin with (really old) and not that powerful (about 15W, I know that is not a direct measure, but gives an idea). So, so far I don’t notice a lot of disturbance in the audio, but the speakers are old, not hi-fi ,and I can’t claim to have experience with really noticing the differences (yet), since I don’t have a Hi-Fi speaker to compare it with.

As this was my first project I focused more on “Can I do it” instead of what is the perfect way to get the best sound results. With that I mind, I also made the walls rather thin (they are wider at the visible ends, but about 2 mm in the middle). That combined with the fact that they are black, I noticed that the top wall/roof which stands in the sun a lot has gotten a dent (kind a). This is due to the fact that PLA gets soft already at around 40 degrees Celsius.

In terms of material I used about 1,5 kg to 2kg since I had to reprint most of the parts at least once due to re-design after printing it once (mirrored parts not included). If you will have stronger speakers you probably will need thicker/stronger housing and therefore more material. Other then that, I do believe it is possible, and have seen some promising examples of speaker housing on thingiverse (you probably are familiar with that).

In the end, it truly depends on how much you will notice the difference of course. I you go with a simple design, it might also be possible to combine wood with 3D printed parts.

As for me, for my next project, I will probably buy a hi-fi DIY kit and after that, I will combine my knowledge of both projects to build a complete set (maybe 3d printed, maybe combined, maybe wood only, not sure yet).

Hope this helps! Feel free to ask me any more questions.

Kind regards,

Jeroen

Hi Jeroen,

Sorry I did not describe clearly. We’ve developed a new board, it’s a plate amplifier targeted for speakers, and it has internal AC/DC power, Bluetooth/WiFi streaming, has Ethernet/AUX in/SUB out/slave speaker connector/encoding key button, and used digital amplifier ma12070 which claims for close to class a style performance, it would be released soon, I just mentioned about it. And some pictures I’ve taken.

Btw, for the real hifi solution, I don’t suggest until you have really spare budget for it, it means to spend 99 percent cost to get 1 percent improvement, it is more like a faith. And it shocks me while I know one cable for more than $500, ridicules expensive :joy:.

Regards, Frank

Hello Frank,

Thanks for clearing that up haha. I will keep an eye out for it. Might be interesting.

About the Hi-Fi part, yes there is a difference between Hi-Fi and Hi-Fi depending on your budget of course. I am not planning on buying cables that are 500 euro haha. But the speaker set from the post doesn’t even have a crossover, so there is a huge gap between this set and a complete high-end Hi-Fi system of course. Maybe I shouldn’t have thrown the term Hi-Fi that easily, lets call it an upgrade from what this set is haha.

Anyway, thanks for the feedback!

Kind regards,

Jeroen

Thanks for your reply,
Yes I saw some speaker models in thingiverse, this is why I had the idea in my mind.
At the moment I like the wooden sound (my project) but maybe in the future I will try to make one 3d printed or maybe combined.

I made some 3d printed parts to use in the speakers like this supports for pasive radiators.

Thanks,

Joan

Thanks for your response!
Your project looks very nice! You will probably have quite a challenge to 3D print a speaker that size. At least with my printer.

Judging from the power your speakers have, You will probably notice a change in sound if you would 3D print the way I did. You might need to print a lot of the parts solid.

Should you ever give it a try, I would like to see the results!

Kind regards,

Jeroen